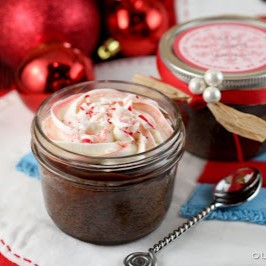
 AKA: “Why yes, you may have that raise” cupcake jars, or “Oh my gosh I think I love you” cupcake jars, or “Yes of course we should agree to a ceasefire, in fact let’s do dinner tonight” cupcake jars. You get my point, right? I have no other words, these are amazing. It’s like Christmas in a jar. It’s a rich fudgey cupcake filled and topped with a creamy and decadent peppermint ganache. Then topped off with a cool, sweet layer our favorite frosting (also peppermint spiked) and sprinkled with crushed candy canes. And striping the frosting is just icing on the cake! Literally. I put them in jars because that just makes them extra fun, and it’s like this great personalized little gourmet gift. It might seem like a lot of steps, but really it doesn’t take all that long. If you want to break up the load, I would suggest making the cupcake and ganache layers and then screwing the jars on and storing overnight. Then next day (or even couple of days) when your kitchen is nice and clean again just whip up some frosting and pass them out fresh.
The cupcake itself is out of this world. I adapted it from a recipe in a book that both Kate and I love. I knew just looking at the recipe for the first time that it would be rich and fudgy because the ingredients and method are more along the lines of a brownie than a cupcake. Skip the electric beater on these babies, all you need is a wooden spoon.
It starts with melted butter and chocolate. How could anything that starts with melted butter and chocolate not end well?
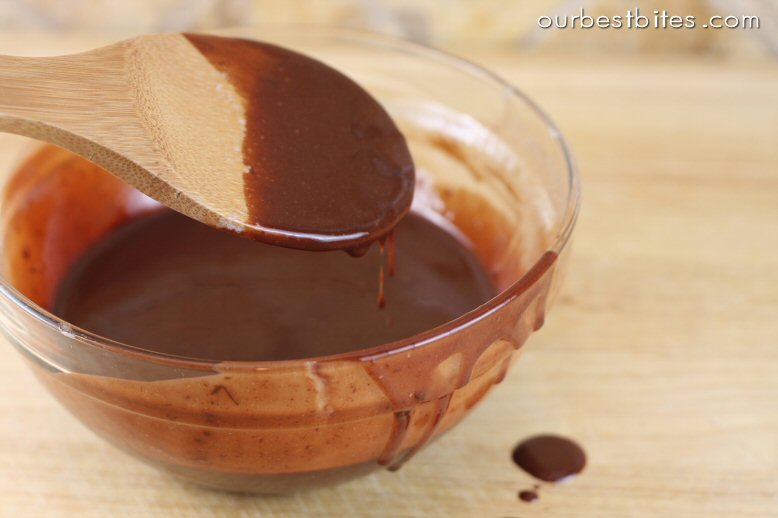
And like I mentioned, just stir in the dry ingredients by hand. That actually makes this recipe really quick and easy, no messy beaters and butter fluffing.

Fill up your cute little jars. These are the same jars we use for our Pie in a Jar. The cupcakes will rise and you need room for both the frosting and the ganache, so fill them no more than 1/2 way full.
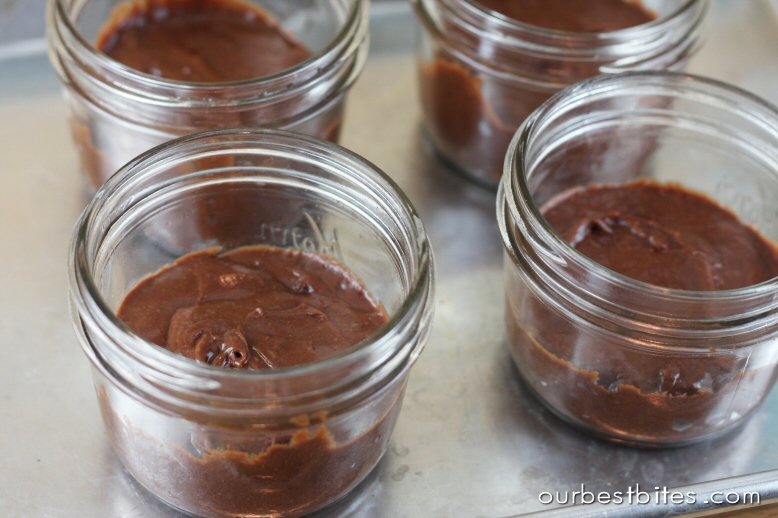
Pop those in the oven, and you can prepare your ganache while they’re baking. Cream. Chocolate. Peppermint. Can’t go wrong there either.
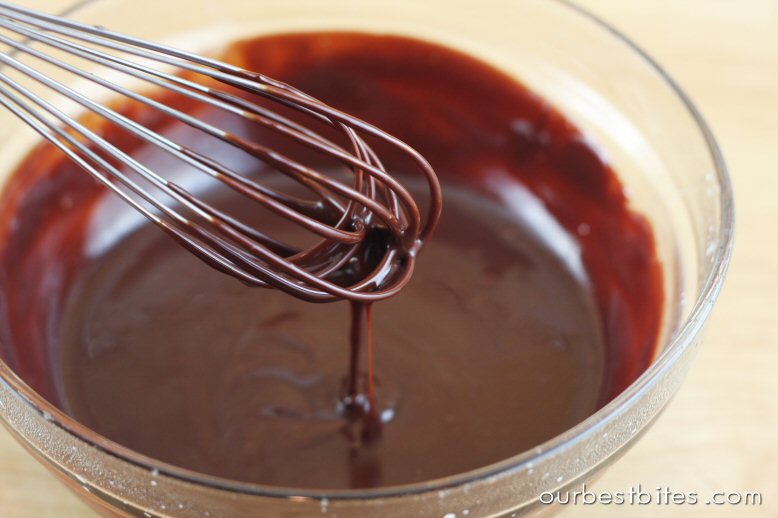
Take your cakes out to cool, and your ganache will be setting up/thickening at this point as well.

Some of your cakes may have a little well in the center which makes a great little holding spot for the ganache. You can also take a paring knife, or an apple corer works great, and hollow out the center like this:
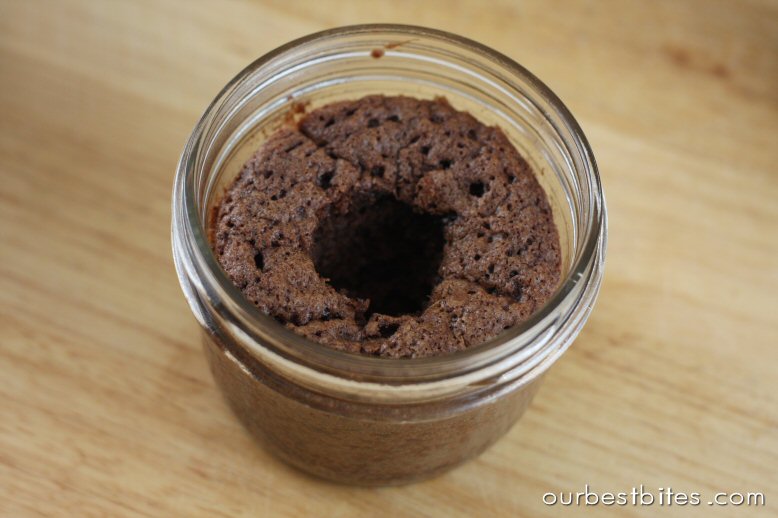
It’s really up to you. If you don’t have a lot of space on top you might want to hollow out the center. If you’ve got room and want more of a layer of ganache on top, then skip the coring and just pour the ganache on top.
Once your cakes have cooled to close to room temp (a little warm is okay) pour ganache over each one. If your ganache has gotten too thick to pour at this point, just warm it up in the microwave in about 10 second intervals.
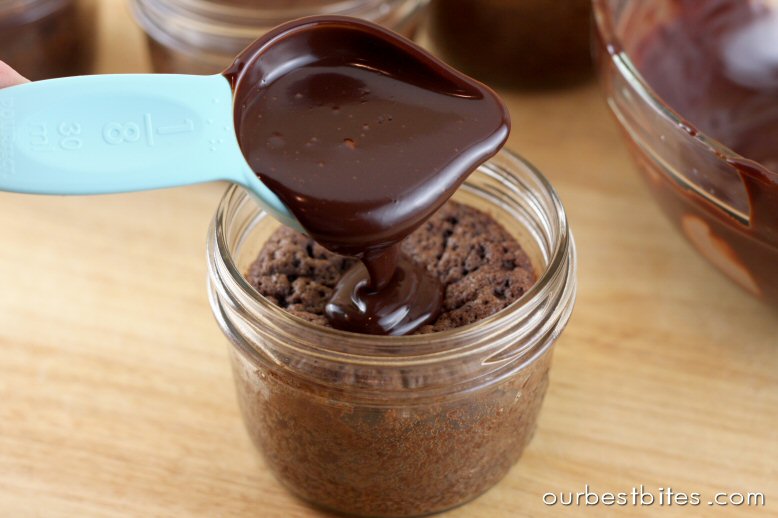
Then tilt the jars around so you get a complete chocolate cover. This actually helps keep the cupcake part really moist and fresh so you can wait a day or two to share them, or finish them if you don’t have time to do it all at once.
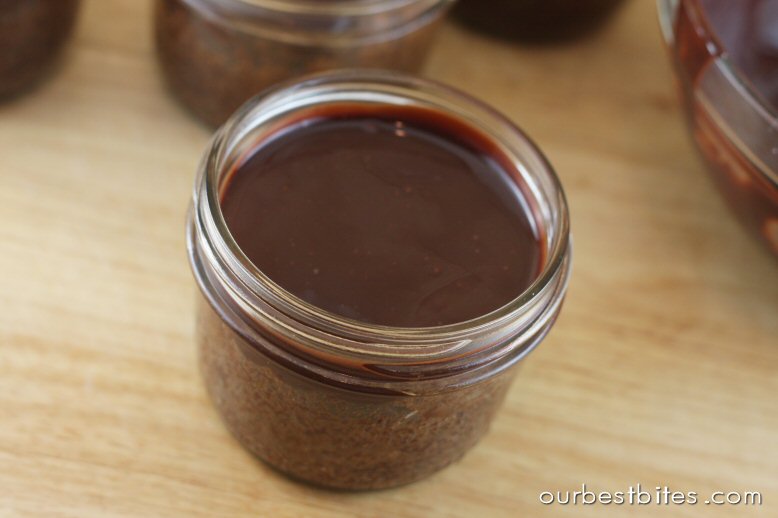
The last step is the frosting. I’m using our favorite frosting recipe. If you haven’t tried it, you need to! If you make it and love it, then you must must try it with the peppermint extract.
I’m going to show you a fun trick to getting that candy cane stripe! You’ll need gel food coloring (available in the baking isle, a clean paint brush (I keep a set just for baking/cooking) and a piping bag. This works great with parchment paper bags too (in fact, I think it sticks a little better to parchment) so if you have a tip and some parchment you can just make your own. If you don’t have anything but the food coloring you could try winging it with a large ziplock bag with the tip cut off. that would probably work just fine, it just might be a little difficult to have the food coloring stick to the bag as you’ll see in the next step.

Fold down the outer edge of your bag so it sits open by itself. Dip your brush into your food coloring and paint lines up the side of your bag. And yes, I’m completely aware that mine looks freaky- like my piping bag got attacked by a bear or something. I paint all the way down to my tip.
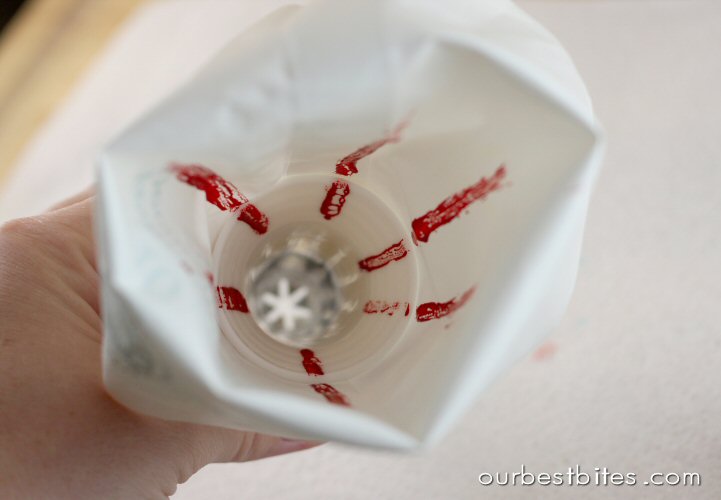
Then carefully add your frosting. Try to plop it in there right in the center so you don’t have to mush it around too much. As you pipe out the frosting, the color will come out in lines and you’ll get a great candy-cane stripe! (On a side-note, try this technique with rainbow colors and colorburst cupcakes- how amazing would that look?!)
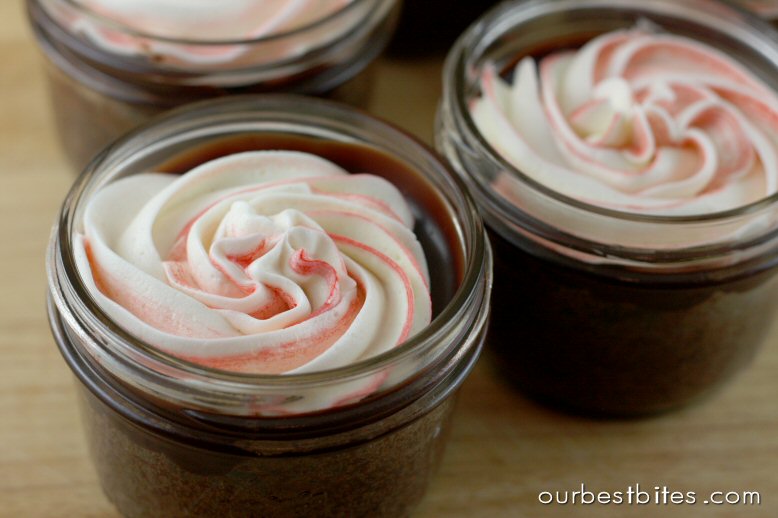
Just give it a nice swirl, being careful to not go above the top of the jar, and then sprinkle some crushed candycanes on top.
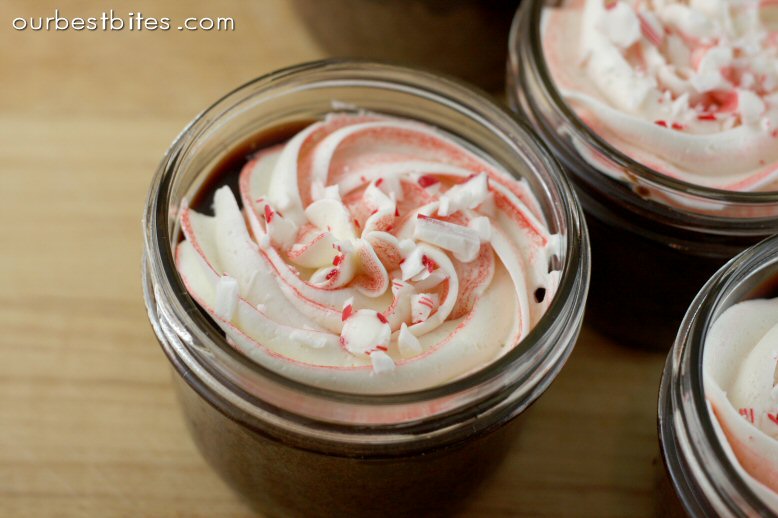
Now you can place the lids and rings on and dress the jars up any way you please.

When you bust into that baby you’ll get all three layers of frosting, ganache, and cupcake.

Oh sweet peppermint fudge cupcake jar, will you marry me??
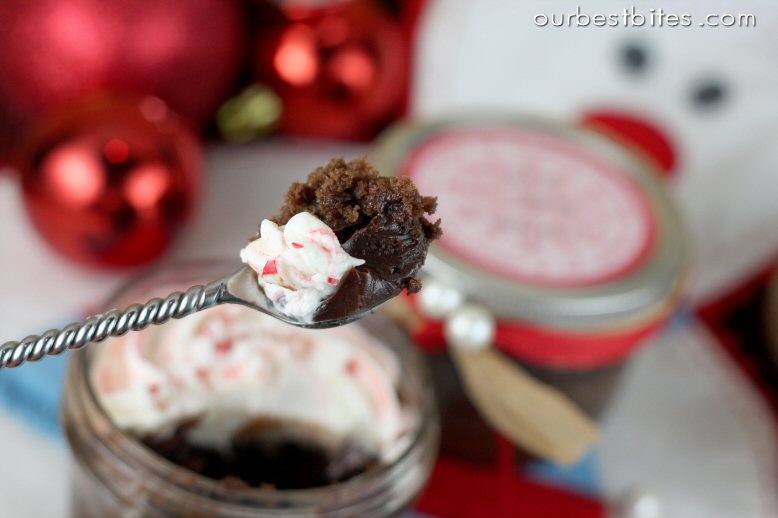
Tie on a ribbon or two and you’re set for giving.
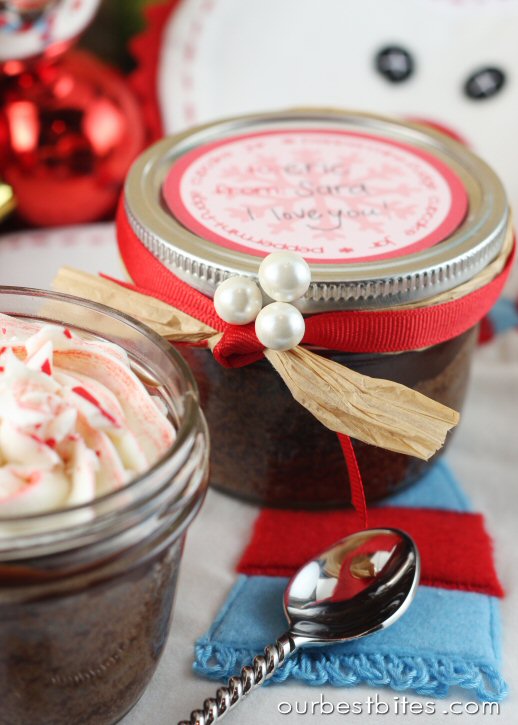
I made some cute tags for mine.

And since I love you all I’m going to share! Note that the background is white, I just printed mine on light pink cardstock because I was out of white. Click here for a file you can print on cardstock and cut out. There’s a place to write “to” and “from” and also a little space for a note. Like maybe “You owe me.” Just an idea.

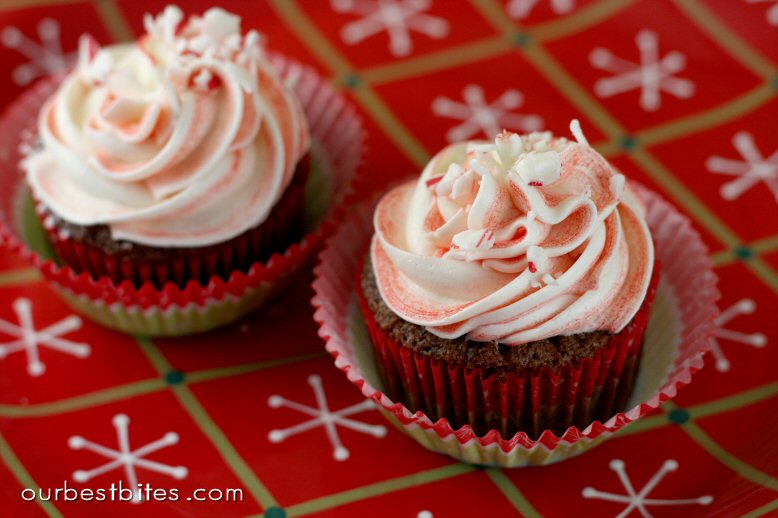
If you love this idea but don’t have jars, they make amazing cupcakes too! Love these cute papers I bought from Wilton last year.
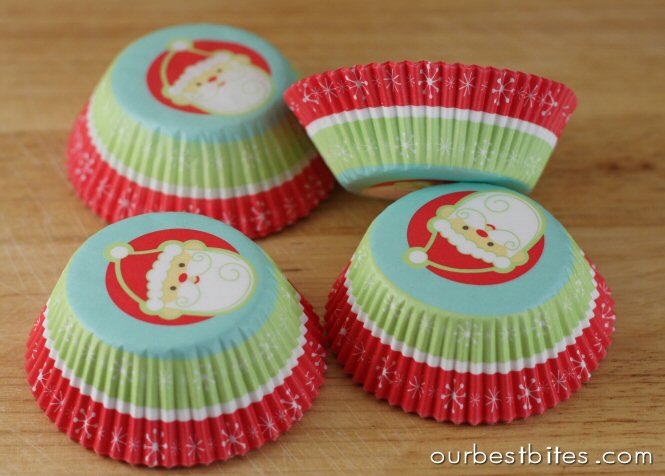
The recipe will make about 8 jars or 12 cupcakes. And with the cupcakes you might have a little ganache left. So eat it. With a spoon.
Peppermint Fudge Cupcake Jars
Equipment
- 8 8-ounce wide mouth mason jars (the short squatty kind)
Ingredients
Cupcakes
- ⅔ cup all-purpose flour
- 2 ½ tablespoons unsweetened cocoa powder
- ¾ teaspoon baking powder
- ¼ teaspoon salt
- 3 ounces chocolate chopped (or abt ½ chocolate chips). Use bittersweet, dark, or semi-sweet.
- 11 tablespoons real butter cut into pieces (that's ½ cup, plus 3 tablespoons)
- 15 tablespoons sugar (¾ cup, plus 3 tablespoons)
- 3 large eggs at room temperature
- 1 teaspoon vanilla extract
Peppermint Ganache
- 4 ounces semi-sweet chocolate chocolate chips are fine
- ½ cup heavy cream
- ¼ teaspoon peppermint extract
Frosting and Decorations
- frosting of choice see notes below for links
- crushed candy canes to sprinkle on top before serving
Instructions
Cupcakes
- Preheat oven to 350℉. Place the chocolate and butter in a large heatproof bowl and microwave in 30 second intervals, stirring after each, until melted and smooth. Set mixture aside and let cool 10-15 minutes.
- In a separate bowl, whisk together the flour, cocoa powder, baking powder and salt. Using a wooden spoon (don’t use an electric mixer) stir the sugar into the chocolate mixture until combined.
- Stir in the eggs one and a time, beating with your spoon until combined after each addition, and then beat in the vanilla. Gently fold in the flour mixture just until no traces of flour remain; do not overmix.
- Place the mason jars on a cookie sheet. Divide the mixture evenly among the 8 jars (no need for greasing the jars) or 12 cupcake liners if you’re going that route. The jars should be about half full or a little less. Bake until a toothpick inserted into the center of the jar comes out with only a few moist crumbs attached 22-25 minutes.
- Remove from oven and carefully (with a pot-holder!) transfer jars to a cooling rack. Let jars cool till at least close to room temperature before topping with ganache.
Peppermint Ganache
- Place chocolate chips in a bowl. In a separate bowl, heat cream in microwave until bubbles form around the outside. Pour in bowl over chocolate chips and immediately cover bowl with plastic wrap. Let sit for 5 minutes, then add peppermint extract and whisk until smooth. Let cool un-covered until thickened slightly, almost like a thin pudding.
- To assemble, pour 1 ½-2 tablespoons ganache over the top of each cupcake jar. If desired, use a paring knife to first hollow out a well in the middle of the cake. Tilt jars to distribute ganache evenly over the top of the cake and then let cool for the ganache to set. If storing overnight, place lids and rings on jars and leave at room temperature.
- Frost with desired frosting (see notes below for options). See instructions in the above post for creating a red and white striped look. Pipe frosting on each jar, being careful to leave room for the lid. If desired, sprinkle on some crushed candycanes and then screw on jar lids.
Notes
Frosting Options
- I recommend this Perfect Cupcake Frosting and Filling. Add peppermint extract (in addition to the vanilla extract called for) at the end by 1/4 teaspoon, to taste. I prefer at least 1/2 teaspoon. See instructions in the above post for creating a red and white striped look.
- If you’d prefer a quicker, more traditional buttercream peppermint frosting, use the frosting from these Peppermint Candy Cane Brownies.
Additional Notes
- Click Here to print free labels for the mason jars.
- Storage: Note that just because these are in jars does not mean they are shelf stable for extended periods of time. Also, baked goods are always best fresh, that being said, here are a few storage options.








Questions & Reviews
These look so fun! Gonna make them for our mail carrier and garbage pickup guys! Thanks for the tag template too. Perfect!
Ooh! Perfect! I'm going to make these for our pre-deployment/Christmas party next week, as door prizes. They look fabulous!!!!!
My mouth is watering and i didn't even finish reading but thanks to Living Locturto i am now following all your lovely ideas 🙂
What an awesome idea!!! Thank you so very much for the excellent pictures and tutorial. I think these will be great for the bake sale auction our church is having in a couple weeks!
Thank you for this recipe! I am very excited and getting very impatient to make these adorable cupcake jars.
Thank you for all of your fabulous ideas. These look absolutely dreamy!
Trish- they are wide mouth half-pint jars
Staci- I'm not sure on the brand, but I bought them at Cost Plus World Market- I love them!
OH MY GOSH!! Love!!!
Just found your blog a month or so ago and I love it! Off topic, if you don't mind sharing, but what is the name of the silverware in the photo? I love the handle on the the spoon!!
Are those 4 oz. jars you're using?
Thanks this looks great!