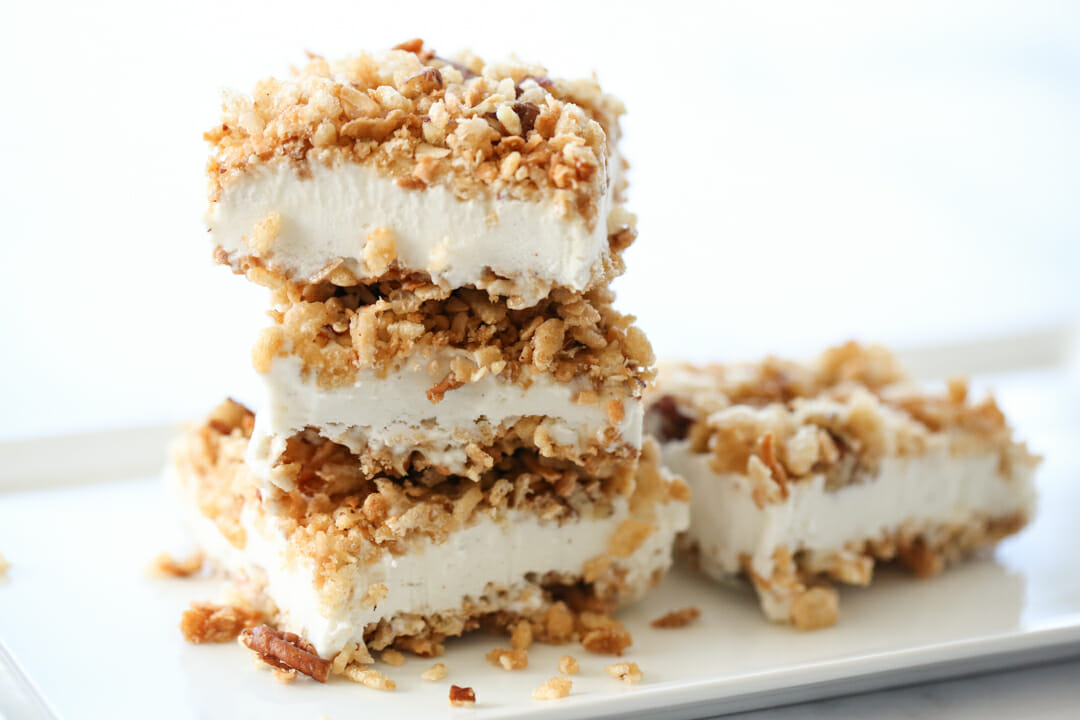
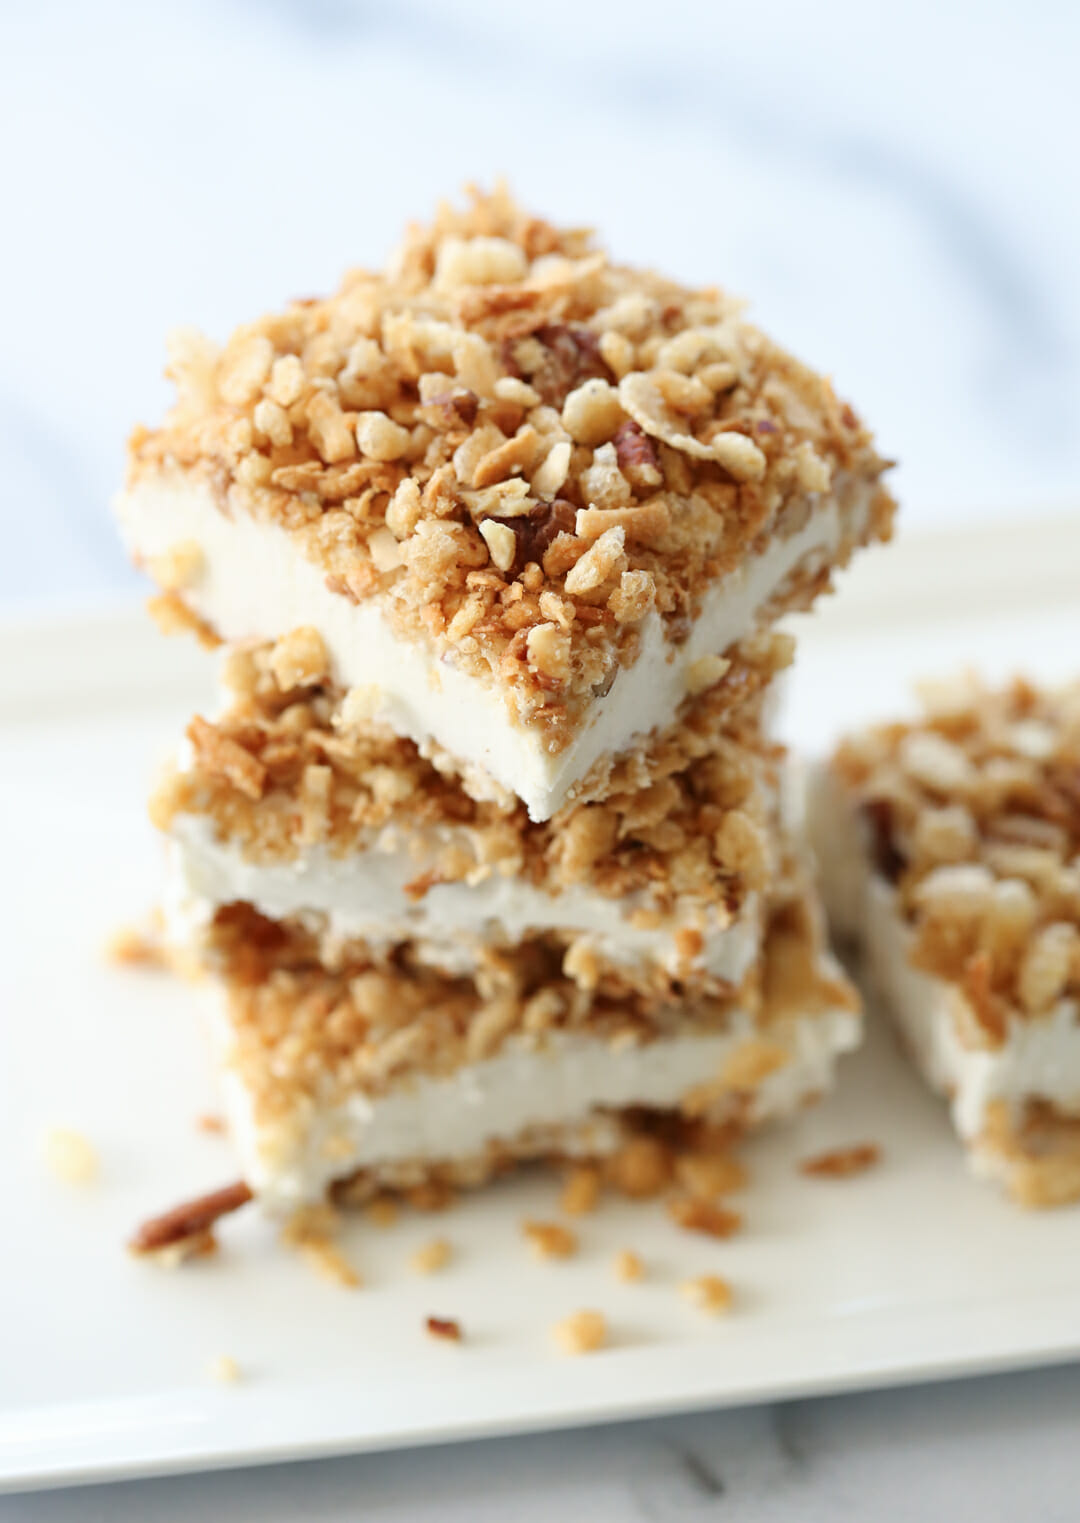
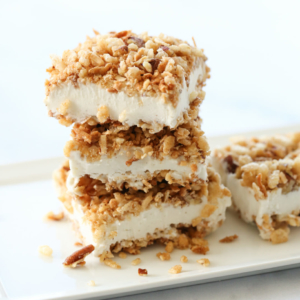
This unique dessert tastes a little like fried ice cream bars, without any frying! It’s a delicious mixture of rice krispies, toasted coconut and pecans and brown sugar that’s toasted in the oven with butter and then used to sandwich vanilla ice cream in the center. Ice Cream Crunch Bras are perfect for potlucks and family get-togethers, or to simply have at home for a fun treat. This recipe comes from our good family friend, Linda Pope. BYU basketball fans might recognize that last name- she’s the mom of head coach Mark Pope. Our families grew up together and my Mom got this recipe from her over 20 years ago and we’ve been making it ever since!
Ingredients Needed
This is just a preview of ingredients and method, keep scrolling for full printable recipe.
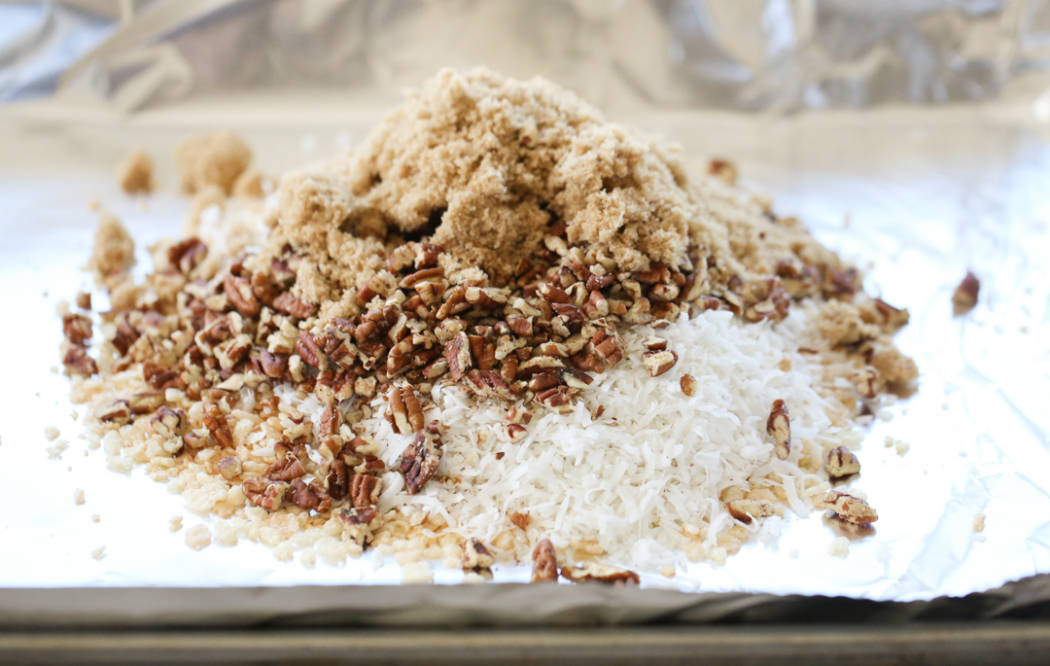
- Rice Krispies cereal – Store brand will work just fine! In fact, if you need to make this truly gluten-free, the cheaper brands like Malt-O-Meal might be your best bet, as they do not contain malt syrup like the name brand variety.
- Chopped pecans – The pecans are chopped small and get nice and toasty in the oven. If you need to remove them for allergy purposes, you can either leave them out completely or add a little extra coconut and/or cereal to make up for the missing volume.
- Shredded sweetened coconut – We always used sweetened coconut flakes but unsweetened would probably work just fine as well!
- Brown sugar- Light or dark, depending on how deep you want the flavor.
- Cinnamon – Optional, but adds another level of delicious flavor.
- Butter – Use real salted butter here! If you absolutely cannot, look for a substitute with similar fat and salt content. Many dairy-free spreads have a high water content and will make recipes like this a soggy mess.
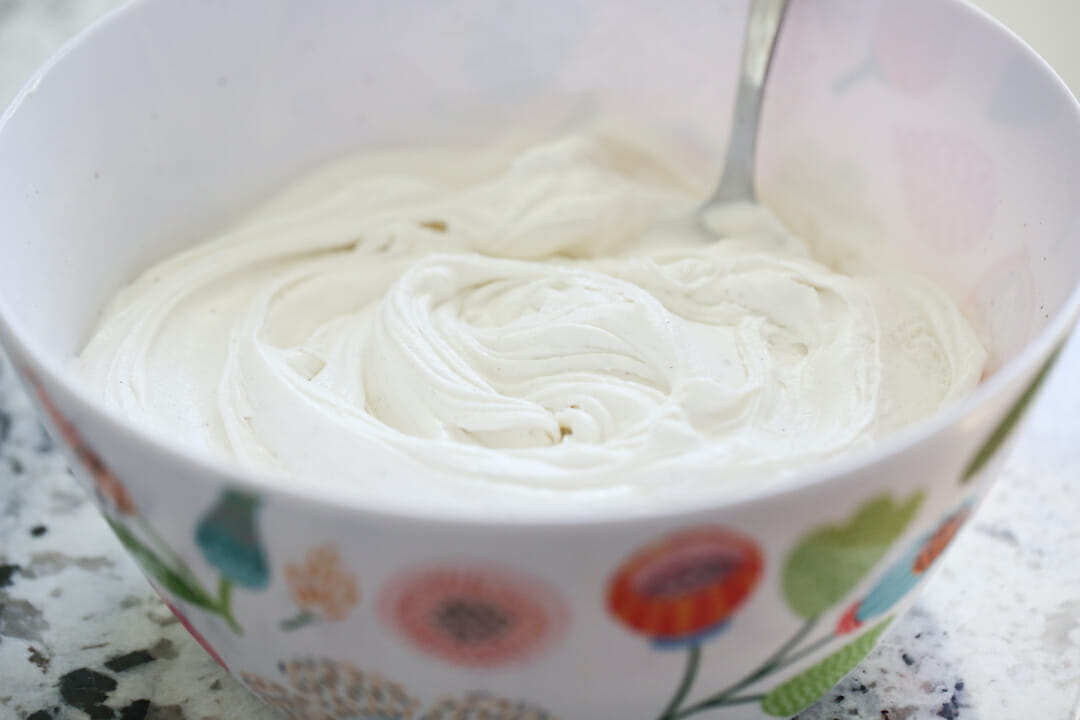
- Vanilla ice cream – While any vanilla ice cream will technically do, I like finding a good quality, creamy variety that softens really nicely, since you will need your ice cream soft-serve consistency to assemble your crunch bars. An easy alternative is this Two-Ingredient No-Churn Ice Cream. You can whip it up and spread it into the pan with the topping before freezing!
How to Make Ice Cream Crunch Bars
- Prep the Topping: This doesn’t seem like much, but this is where the magic is. Mix Rice Krispies, coconut, brown sugar, pecans, and melted butter and slowly toast them in the oven until caramelized and crispy.
- Soften Your Ice Cream: I’ve found it helps to tear off ice cream container and place the whole frozen block into a large bowl. Use a sharp knife to cut it into several large chunks. At this point you can leave it at room temperature for a while, or very carefully microwave at a low heat to gently soften, stirring in between. The consistency you’re going for is soft serve ice cream. It helps to stir it vigorously as it softens until it’s nice and smooth.
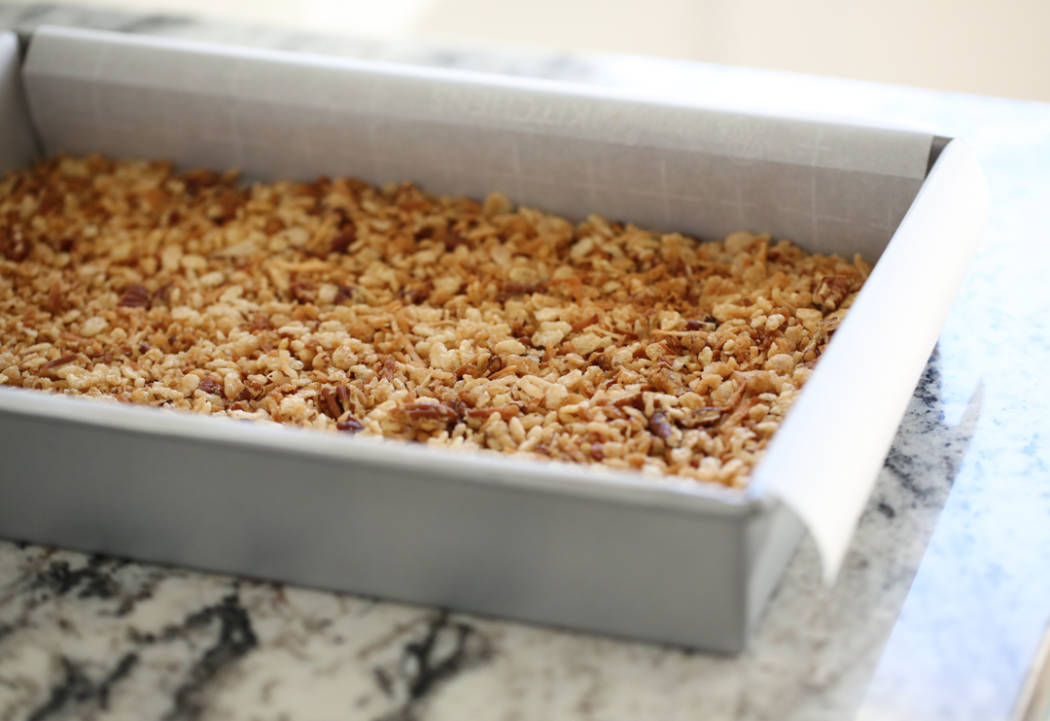
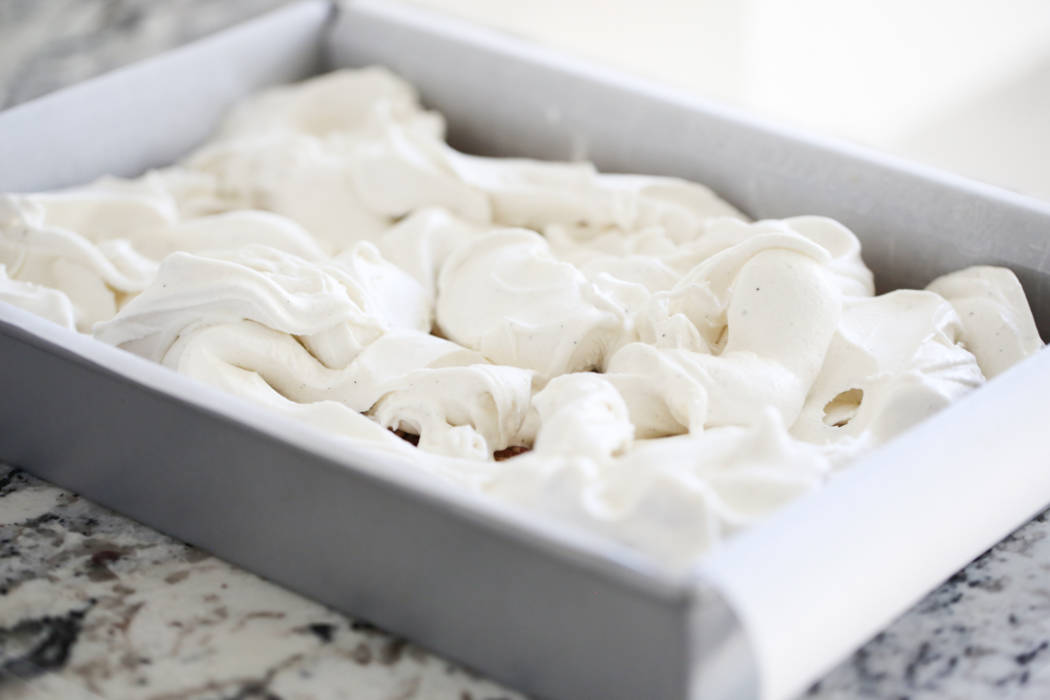
- Assemble Your Bars: Half of your topping mixture gets spread across the bottom of a parchment-lined 9×13 pan. On top of that you will carefully spoon your ice cream. Try to spoon it as evenly as possible so you don’t have much spreading to do, as too much movement will disrupt that bottom layer.
- Stand next to your sink with hot water running and use a large metal spoon dipped in the hot water to spread ice cream. The heat will help it glide over the ice cream smoothly and make the process much easier! Continue dipping and spreading until it’s smooth.
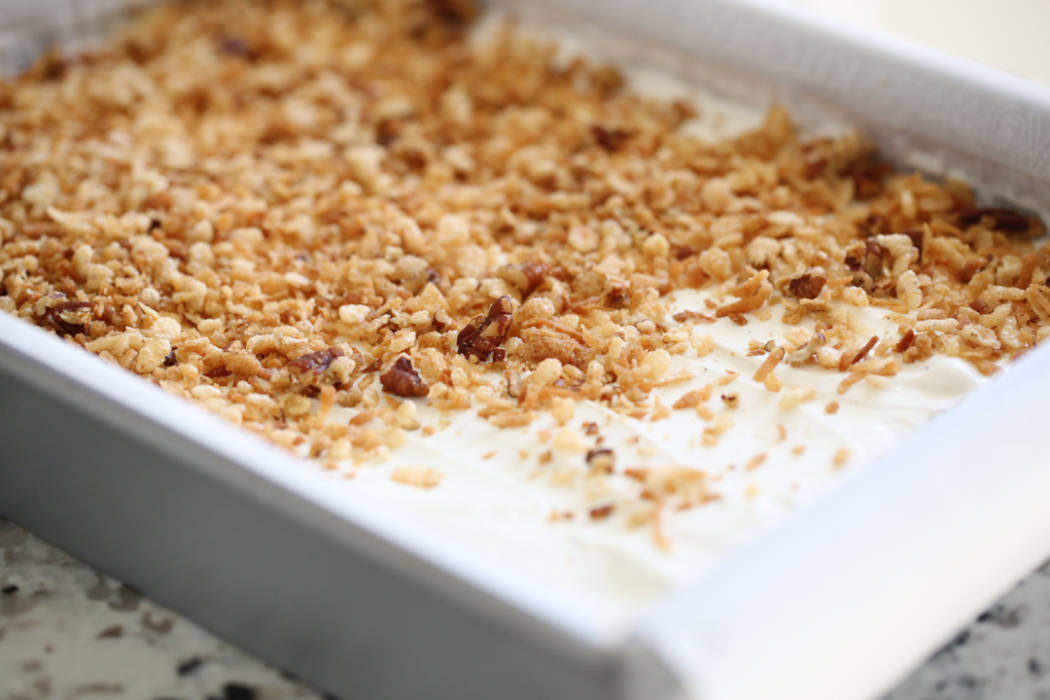
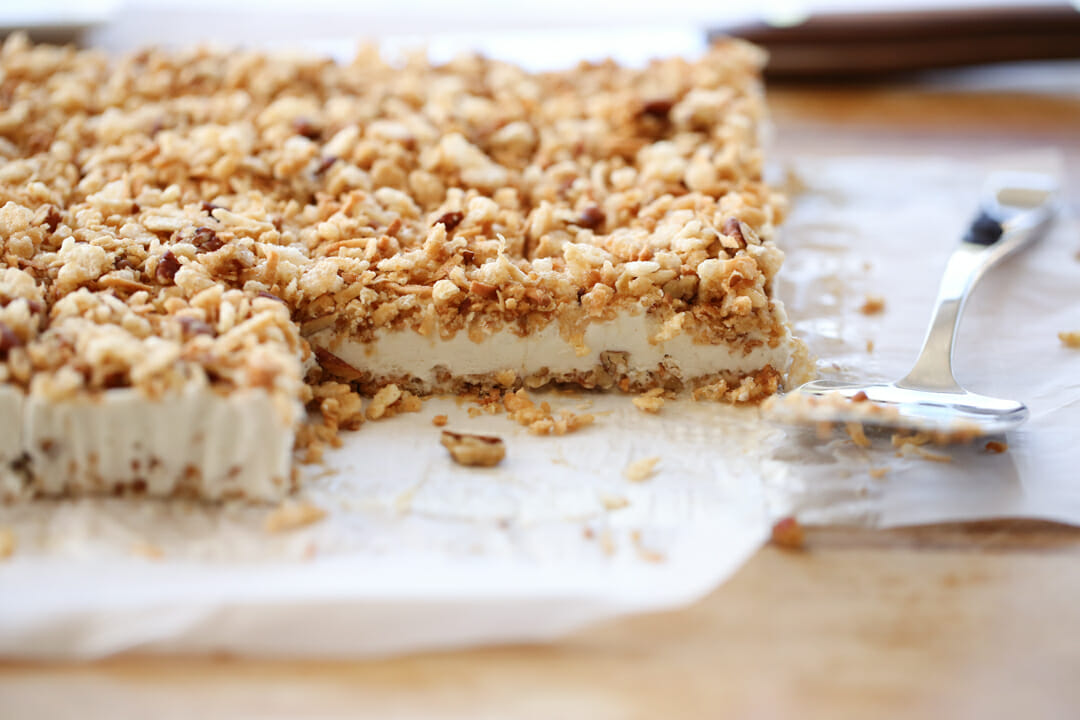
- Top your ice cream with the remaining crisp mixture and pop the whole thing back into the freezer to firm up. Once it’s frozen back up again, use your parchment or foil to lift the whole thing out of the pan and slice into squares.
I like these in small bowls with a spoon or fork. They are AMAZING! Especially after it’s softened just a little bit, like 5 minutes, and the ice cream just sort of melts in your mouth and the flavors from the caramelized, toasted coconut and nuts come through with an added crisp from the cereal.
Storing and Other Tips
- Store finished ice cream bars in the pan you made them in, covered in a layer of plastic, in the freezer. Enjoy within 1-2 weeks for best results!
- For best texture, let the bars sit on the counter for 5-10 minutes before serving.
Alternative Method
I recently tested this recipe with my Two-Ingredient No-Churn Ice Cream recipe and it was a smashing success; so much so that I think I may even prefer it to thawing store-bought ice cream!
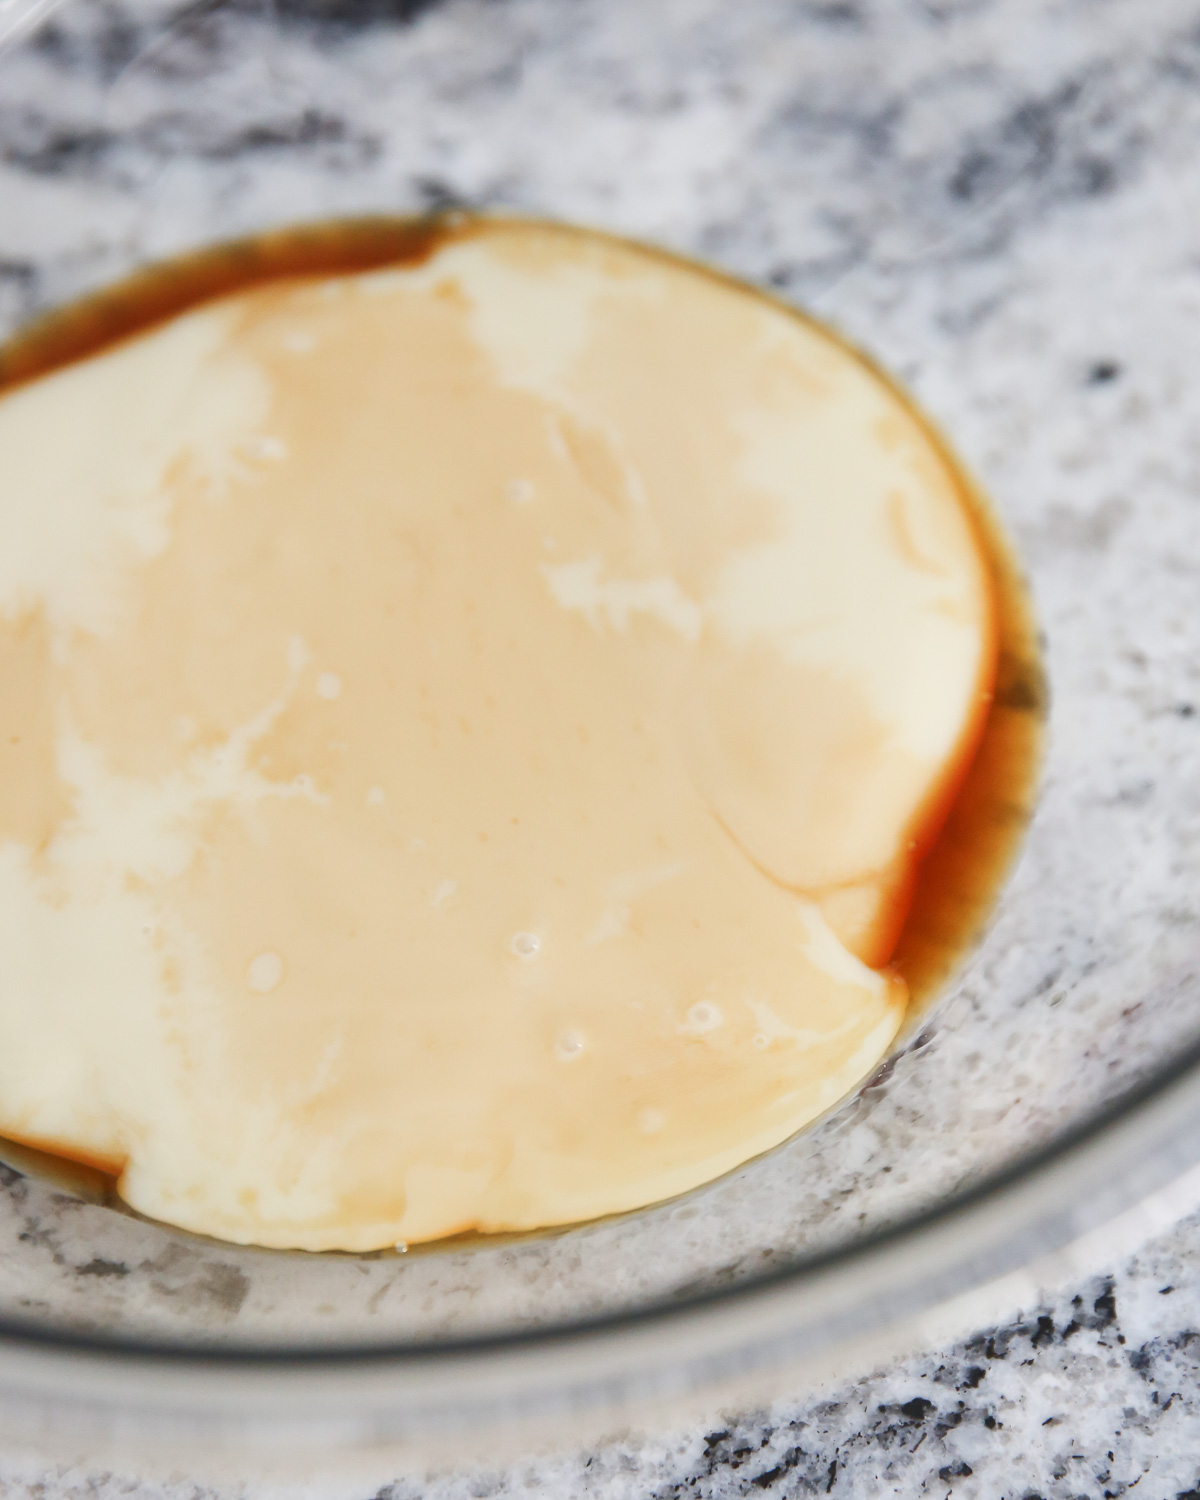
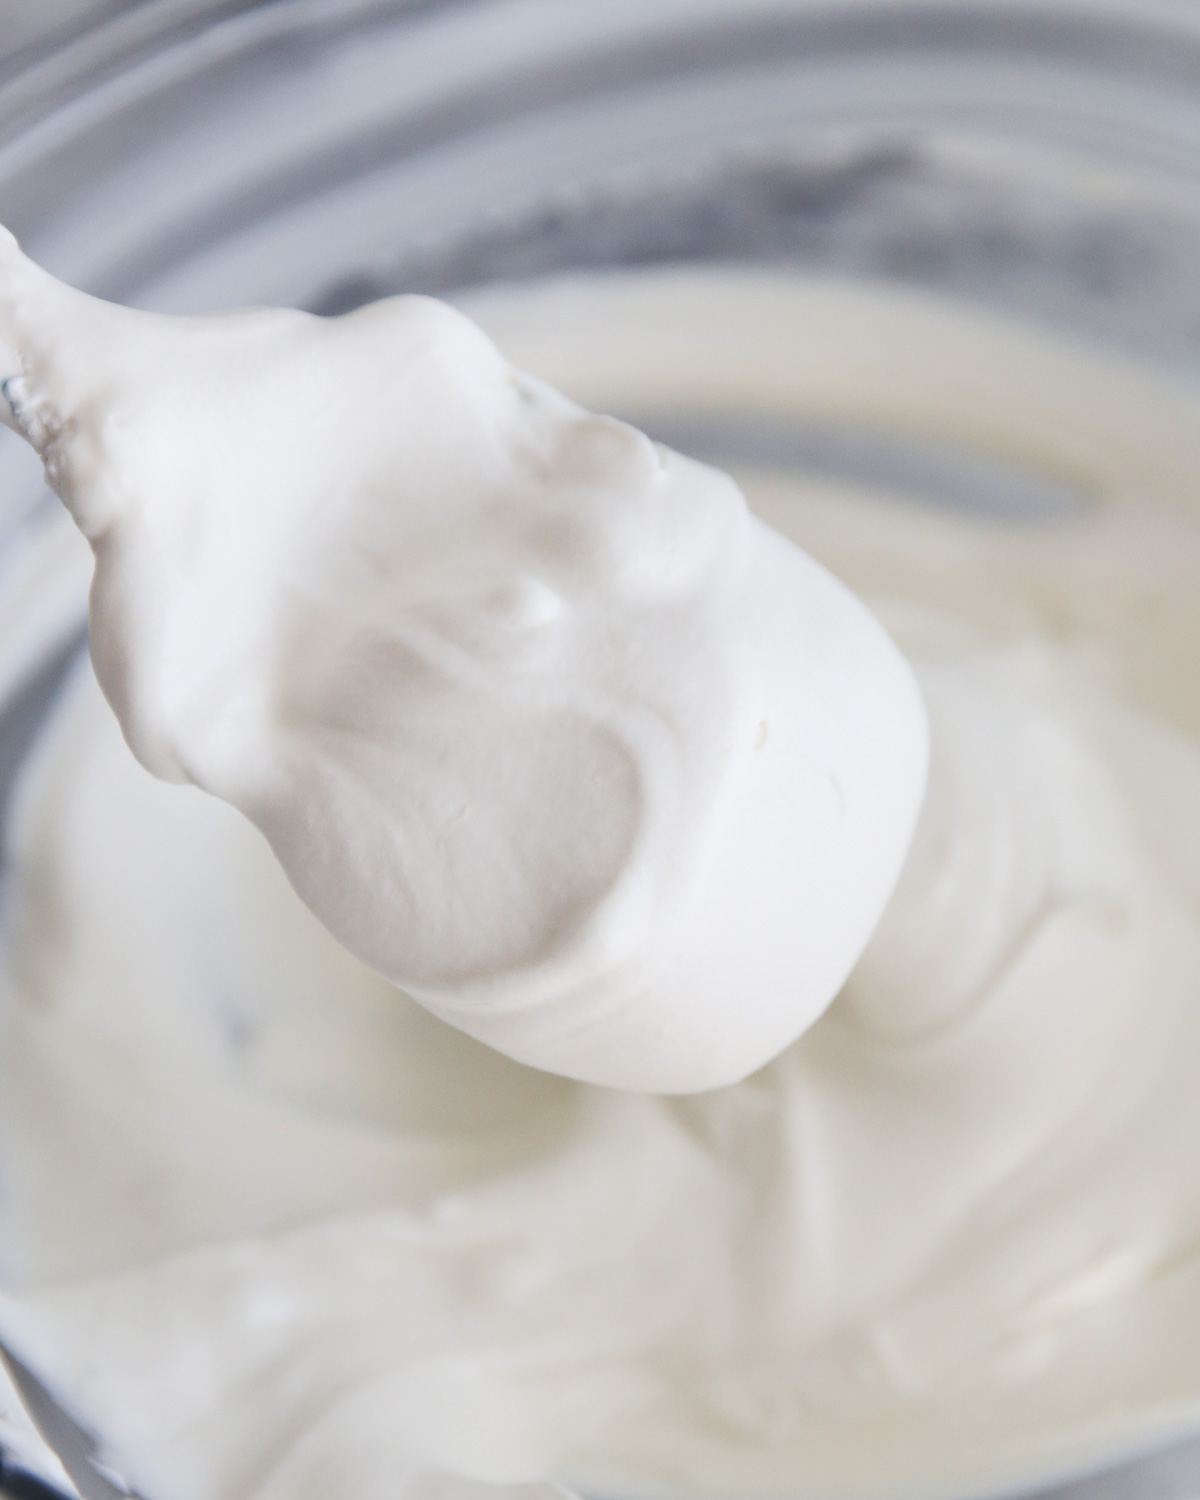
All you need to do is whip two cups of heavy cream, and fold it into one can of sweetened condensed milk mixed with a little vanilla. Instead of putting that mixture in the freezer, spread it over the first layer of crunchy topping and then you can sprinkle the rest on the top and freeze! It comes out beautifully!
Frequently Asked Questions
Of course! Make these a day or two ahead of when you need them. Store, covered tightly in plastic, in the freezer. When ready to serve, allow to sit at room temperature for a few minutes to soften, then slice and serve.
Absolutely. I would use two pans for toasting your topping in the oven, or you could use one XL sheet pan.
Yes. You could make individual servings in small freezer-safe containers or you can make a whole pan and wrap individual squares tightly in plastic and store in the freezer until needed.
Definitely. Freshly churned homemade ice cream is the perfect consistency for spreading. For an even easier homemade option, see the notes section on the recipe card for my favorite no-churn, no pre-freeze homemade ice cream variation. You just whip some cream and combine it with a can of sweetened condensed milk and a splash of vanilla then spread that mixture right into your pan like you would softened ice cream and freeze!

Ice Cream Crunch Bars
Ingredients
- 2 ½ cups Rice Krispie cereal
- 1 cups chopped pecans
- 1 ½ cups shredded sweetened coconut
- ¾ cups brown sugar
- 2-3 shakes cinnamon optional
- 8 tablespoons real butter 1 stick, melted
- ½ gallon vanilla ice cream or one ‘carton’ since they keep shrinking, softened to the consistency of soft serve (see note)
Instructions
- Preheat oven to 300℉. Line a 9×13 inch pan with foil or a parchment sling, extending a little over the edges of pan.
- Place Rice Krispies, pecans, coconut, and brown sugar in a 9×13 inch pan. Drizzle butter over mixture and combine well (a fork, or clean hands work well.) If desired, sprinkle in a few shakes of ground cinnamon and mix in. Bake for about 30 minutes, stirring once or twice during cooking time. Remove from oven when toasted and golden brown and let mixture cool completely.
- Remove half of crispy mixture and spread remaining half in an even layer on the bottom of pan. Gently spoon softened ice cream on top of mixture. Use a spoon and very gently spread mixture, being careful to not lift up crisp from bottom of pan. (see notes for a tip).
- Spread ice cream out evenly and then top with remaining crisp mixture. Gently press top crisp into ice cream with hands. Cover pan with plastic or foil and freeze until firm (preferably overnight).
- When ready to serve, use foil/parchment to completely remove ice cream from pan. Slice into squares and serve.








Questions & Reviews
Just made these for the first time. They were awesome!
I’m going to add a layer of mini chocolate chips to the top and bottom of the ice cream layer. We use pretzels with this because of nut allergies.
I’ll take a dozen please 🙂 Looks fantastic, even if the ingredients seem a little bit odd together at first.
Just found your blog today and I’m stoked. This recipe, the fruit rollups, and the one ingredient ice cream are gonna get me a lot of “You are the BEST Momma ever” comments from my little one. THANK YOU!
This was so easy, and insanely delicious. That combination is dangerous 🙂 I also cooked mine in a frying pan. Super easy and doesn’t heat up the house!
I just made these and didn’t feel like using the oven. I put everything in my largest straight sided saute pan and cooked it over medium heat…stirring constantly when things started to really sizzle. Took about 15-20 minutes. I think it worked well…just make sure to keep an eye on it.
Ok…I know I’m leaving comments on an old recipe, but I always skim through the comments before I make something for the first time, so I figured I’d leave another tip in case someone reads this. I bought the rectangular carton of ice cream, took it directly from the freezer, removed the carton from around it by pulling apart the seams, then just sliced the “brick” of ice cream into slabs and laid them over the crunchies in the bottom of the pan. For my 9×13 pan, 6 slabs would have worked pretty much perfectly (I had to do a little trial and error, but I’ll know for next time). I just took a spatula after I had them all laid in there and sort of smushed the seams together a little bit, and I think it worked great. No worries about getting the ice cream melted to just the right consistency…and less ice cream “shrink” because the air isn’t melting out of it.
Sorry…forgot to mention that I was inspired by Cindi’s post above mine to do this…just without the individual assembly part 🙂
Ice cream comes in those cardboard containers and crystalizes if it is in the freezer for a while. What can I put it in to keep it longer? I remember my grandmother had a special glass ice cream container she always put hers in.
Sorry, no idea. Eat it fast? lol
I just wanted to add that we make these all the time but we do not soften the icecream that much. We just let it sit out for about 7 minutes so it is not real hard and easy to slice with a sharp knife. Open the carton of icecream so you have a “block” of icecream, cut down the middle to make 2 blocks. Now slice the icecream into 1/2 inch slices and press both sides into the coconut mixture to coat well. Put the slices on a big cookie sheet and cover with saran wrap and put in freezer for at least a couple hours. Then you can wrap each one separately and eat as desired….if they last that long.
I wanted to make a nut-free version of this (I love nuts but my son is allergic) so I substituted crushed chocolate cookies for the pecans and used cookies and cream ice cream. So delicious!
I have been making this recipe for years, but with the addition of a delicious sauce. Try it with your favorite strawberry sauce and fresh strawberries. You won’t regret it! Yummmm!
Oohh. Yum. And if you added in a sprinkling of the crunchy magic shell oreo yummy stuff I think I would have a hard time not eating the entire PAN!!