My absolute favorite way to eat ice cream is in a waffle cone. I never understand why people eat ice cream in a bowl when there are waffle cones as an option. I mean, seriously. Store-bought boxed cones are reminiscent of cardboard, but a crisp, buttery, Homemade Waffle Cone is absolute heaven.
They are actually super simple and quick to make. While the easiest option is a dedicated waffle cone press, you can make them a couple at a time on a baking sheet as well. Give this one a try this summer with some homemade ice cream!

For a lot of years I’d make my waffle cones by hand on a baking sheet, or I’d make mini ones in my Pizelle Iron (still an awesome option for kid-sized cones) and then I finally just bought a waffle cone press on Amazon and I LOVE it. I’m actually going to buy one more so I can make more at a time!
Ingredients and Equipment Needed
This is just a preview of ingredients and method, keep scrolling for full printable recipe.
Ingredients
- Eggs – To hold everything together.
- Granulated sugar – For touch of sweetness.
- All-purpose flour – For structure.
- Butter – Always use real butter if you can! If you must substitute, swap for something with a similar fat and moisture content.
- Milk – Any milk will do!
- Vanilla extract
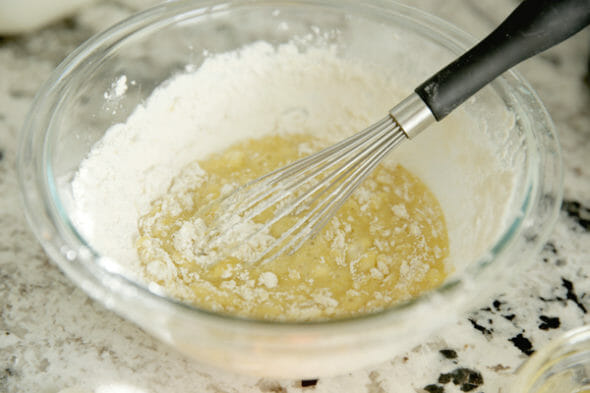
Equipment
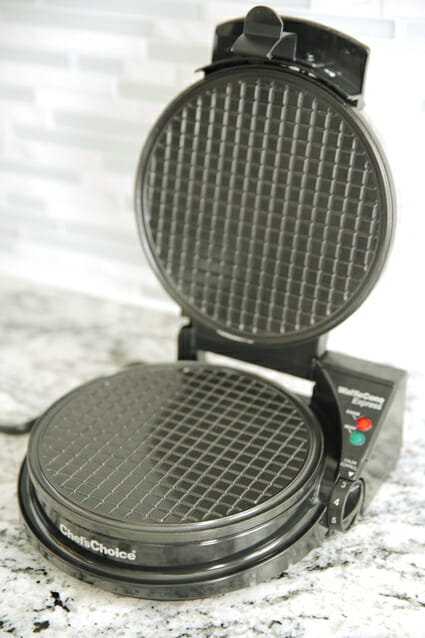
- Waffle Cone iron – For a lot of years I’d make my waffle cones by hand on a baking sheet, or I’d make mini ones in my Pizelle Iron (still an awesome option for kid-sized cones) and then I finally just bought a waffle cone press on Amazon and I LOVE it. I’m actually going to buy one more so I can make more at a time! This model is awesome. It’s actually the same one Williams-Sonoma Sells and it’s only about $50 on Amazon. (Not sponsored, by the way). It’s super easy to use and seriously cooks up perfect waffle cones in a hurry. Treat yourself (haha, get it?) and just get one.
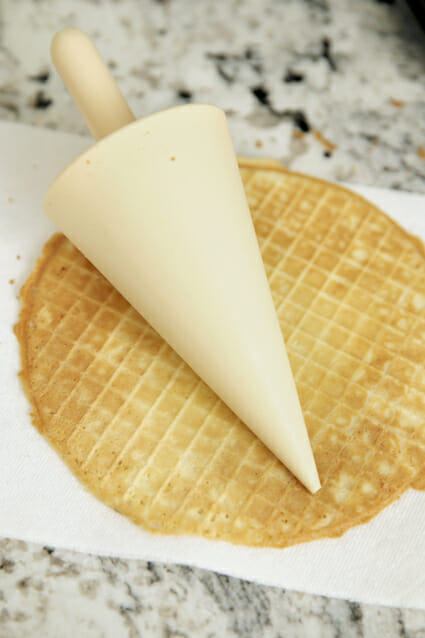
- Shaping tool – If you buy a waffle cone maker it will likely come with a shaping tool. You can also buy them on their own, or cover a foam or cardboard cone in foil and use that. You can also skip the cone completely and shape by hand, just be careful because they are HOT when still fresh and pliable.
How to Make Homemade Waffle Cones
- Waffle cone batter is super simple. The recipe I love is just just sugar, eggs, butter, milk, flour, and vanilla. It mixes up in about 60 seconds.
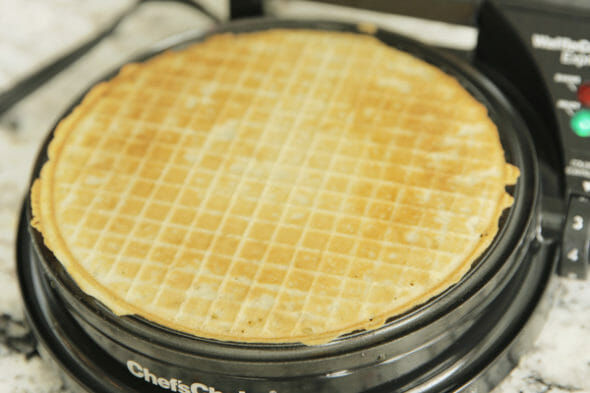
- Then you just pour a couple of tablespoons on the waffle cone maker and press it shut to crisp up.
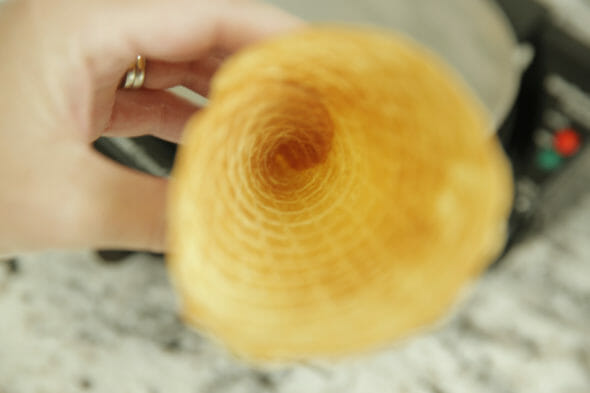
- Waffle cones are soft and pliable when they come off the press, and that’s when you need to shape them. Shape with a shaper tool, foam or cardboard cone wrapped in foil, or by hand. I always put mine down on a paper towel because they’re super hot and the paper towel makes it easy to handle.
- I also make a special point to pay attention to the bottom and make sure I’m closing them all the way, as opposed to having a hole at the bottom. When I do have holes, I usually just drop a chocolate chip down to the bottom to fill up the space.
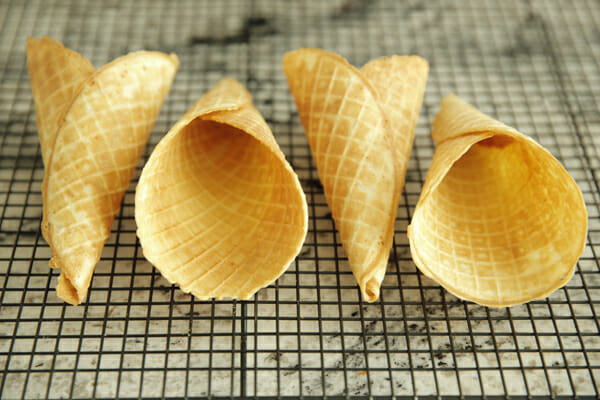
- When your cones are shaped, just place them on a rack to cool and crisp. At this point, you can dip the rims in chocolate and sprinkles, or coat the inside with something yummy and then you can fill them up. There is seriously nothing better than a really good ice cream in a really good cone!
Storing and Other Tips
- Store completely cooled cones in an airtight container at room temp and enjoy within 2-3 days for best results. The texture will be the best on the same day they are made.
- Often for parties I’ll buy a bunch of great ice cream flavors, and then make tons of cones and let people scoop up their fave.
- If you don’t have a waffle cone or pizelle iron: There are a couple of ways to still make these. I’ve done it many times over the years, but I will say it’s kind of a labor of love. They harden quickly so you really have to only do a couple at a time. The press makes it much easier. But you can use either a silicone mat on a baking sheet, or a piece of parchment on a baking sheet. Spread your batter thinly, but evenly in circles. If using parchment, you can trace circles on the underside of the paper as a guide. Bake in a 400 degree oven until they’re golden brown, about 5-7 minutes (but totally depends on the size, so keep an eye on them) and then shape them immediately when they come out and let them cool. You can also make them in a skillet, like you would a crepe- cooking each side until browned and toasted and then shaped into a cone. All the same tips apply if you’re making them without a waffle cone maker: remember they are hot hot hot so be careful not to burn your hands! Also, they crisp and harden quickly so you’ll have to work fast.

Frequently Asked Questions
Be sure to cool your cones completely before storage. Any remaining heat will release moisture and soften the texture of your waffle cones. If you live in an area with high humidity, you may find that you need to eat them fresh for the best texture!
Absolutely! Simply drape the finished cone over a small bowl when you pull it off the iron and allow to cool!
Yes. If you need to you can make the batter and cover and refrigerate for up to 24 hours. When ready to cook, allow the batter to sit at room temperature for about 10-15 minutes, then stir well and use as directed.
Yes! We’ve had readers report that this recipe works well with a good 1:1 gluten-free flour blend.



Homemade Waffle Cones
Equipment
- Waffle Cone Iron
Ingredients
- 2 eggs
- ½ cup sugar
- ⅔ cup flour
- 4 tablespoons melted butter (½ a stick)
- ¼ cup milk
- 1 teaspoon vanilla
Instructions
- Preheat a waffle-cone maker according to the manufacturer’s instructions.
- In a bowl, whisk together the eggs and sugar until the sugar is incorporated and the eggs have lightened in color, about 1 minute. Add the flour mixture and stir until incorporated. Add the butter, milk, and vanilla and stir just until combined.
- Spoon 2-3 tablespoons batter onto the waffle-cone maker. Close the lid and cook for at least 1 minute before lifting the lid to check for doneness. Continue cooking until the desired color is reached.
- Quickly remove the waffle from the waffle-cone maker and shape it around a cone roller, or mold into cone shape. Another option is to lay over an inverted bowl, to make a waffle bowl. Hold the cone for a few seconds to set its shape. Set the cone on a cooling rack to cool.
- Repeat with the remaining batter. Makes about 10 cones.









Questions & Reviews
this just induced a major pregnancy craving! I love huckleberry everything.
I JUST bought one of these waffle cone makers myself this summer and made some up. YUM! It worked REALLY well. I was imressed. It took me a couple of tries to get the trick of shaping the cones, but it didn’t take long. I like the idea of dripping chocolate in the bottom if you have a hole. I even made some with gluten free all purpose flour, for my daughter with Celiac Disease and they tasted GREAT. She so rarely gets ice cream cones, so it was a real treat. I’ve even made the cone and then instead of rolling them, cut them into wedges and served with ice cream (like a cookie) as more of a fancier treat.
So just because of this post I had to go and get your ice cream and had to have a waffle cone for it to go in.
YUM!! Really good ice cream 🙂 Congrats
Can’t wait to go shopping! Allison and I have been checking the Hillsboro Fred Meyer for 4 months and come home disappointed that we haven’t found your ice cream yet. Here’s hoping that we find it! Congratulations Sara!
Thanks! Looks amazing! So just for clarification, the butter should be melted? And when you say flour mixture…it’s just flour right? Nothing else actually mixed in? Or did I speed read that too fast? I was just so excited.
Really, Really, Really hoping to find the ice cream in our local King Sooper’s (Kroger family) here in Colorado Springs.
yeah,congratulations on winning the ice cream contest! i am looking forward to trying the huckleberry pie private collection ice cream from Kroger. thank you for the homemade waffle cone recipe. i love the best bites cookbooks.
If there is a hole at the bottom of the cone, you can also drop in a miniature marshmallow to stop any drips.
ooh, good tip!
I’m pretty glad you posted this… because I don’t have a pizelle press OR a waffle cone press, but i DO love waffle BOWLS!! And so since you were talking about how you have to work quickly to get the cones shaped, especially from the oven… I thought “I bet it wouldn’t be so tough to do a bowl…
http://www.tasteofhome.com/recipes/how-to-cook/how-to-make-ice-cream-bowls
I also don’t have any custard cups… but I might have to go find some nice stacking glass bowls, make a pan of waffle cone “pancakes” 😛 and then stack-em-up!
we’ll see… I’m also in the midst of determining which kitchen gadgets I only use twice a year are worth saving and which are destined to be sold. We just moved to a MUCH smaller kitchen :-/ It’s overflowing and only 1/2 the kitchen boxes are unpacked… eek! Maybe i’ll BORROW some custard cups…
You can use any small bowl to shape them. I use little plastic kid bowls from Ikea- they’re the perfect size!
Looks great Sara!! I am not sure if I missed this yet, but are you having a boy or a girl?
We’re sticking with our specialty- Boy #4!