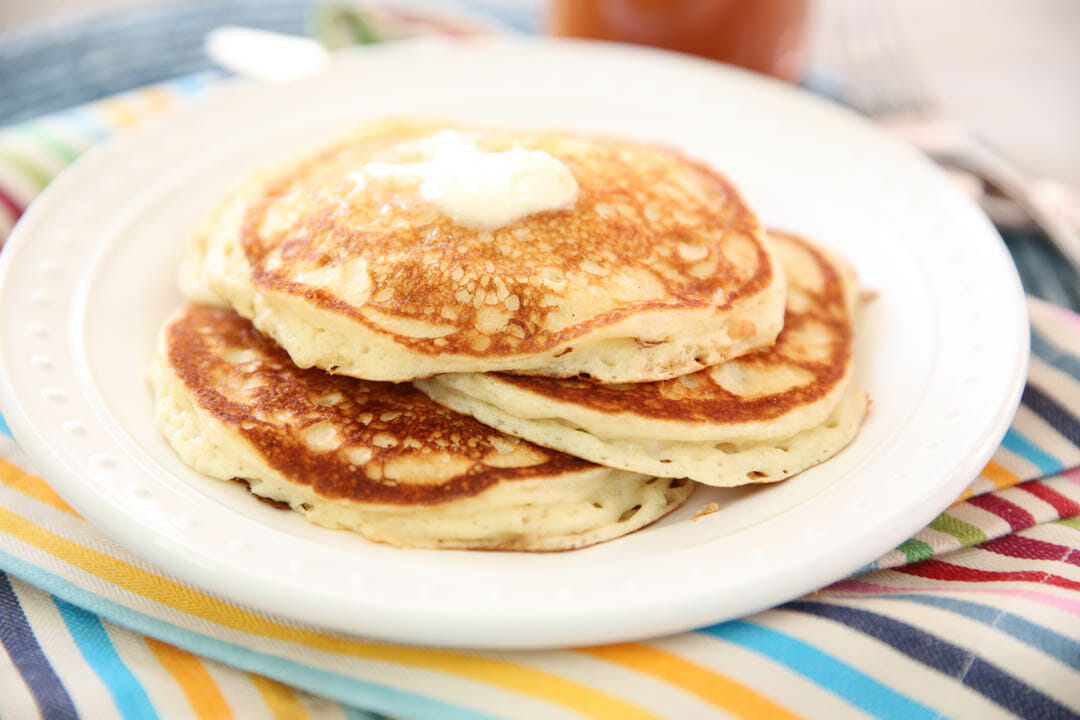
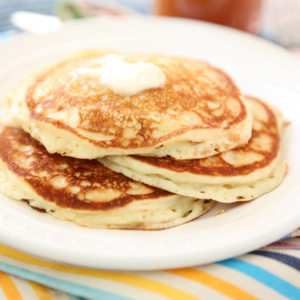
Somewhere, at some point early in the days of Our Best Bites, I mentioned that I had a killer recipe for Buttermilk Pancakes. And I am dead serious when I say that we get more requests for that recipe than just about anything else and I can’t figure out where people are reading this! I’ve been hesitant to post this recipe, not because these aren’t mouth-wateringly awesome pancakes, but because there is no way of getting around using at least three large or inconveniently shaped containers, plus a skillet or griddle, PLUS an electric mixer of some sort (unless you’re way more motivated than I am and have interest in whipping egg whites), plus, if you make Buttermilk Syrup (and you really, really, really need to), that’s another large pot. These are not your Bisquik pancakes, but you’re paying for them with one cupboard-ful of dishes. And there is nothing in the world I hate more than doing dishes. What I’m saying is, these are absolutely worth it.
Ingredients Needed
This is just a preview of ingredients and method, keep scrolling for full printable recipe.
- All-purpose flour
- Granulated sugar
- Baking powder
- Baking soda
- Salt
- Buttermilk – Unlike plain milk, buttermilk is acidic, meaning it reacts with the leavening agents in the batter, creating a light, fluffy pancake. That same acid weakens the gluten in the batter, leaving the pancakes nice and tender. If you don’t have buttermilk, I recommend replacing it with 3 cups milk mixed with 3 tablespoons lemon juice. Let that mixture sit and thicken before adding to your batter.
- Milk
- Eggs – One of the secrets to this recipe, that makes these pancakes SO light and fluffy, is that you whip the whites separately and fold them into the batter.
- Butter – Always use real butter if you can!
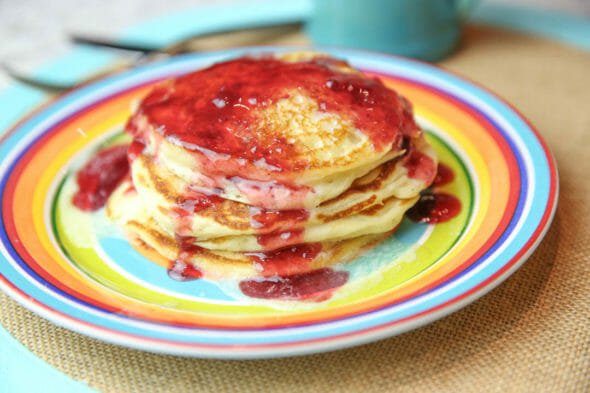
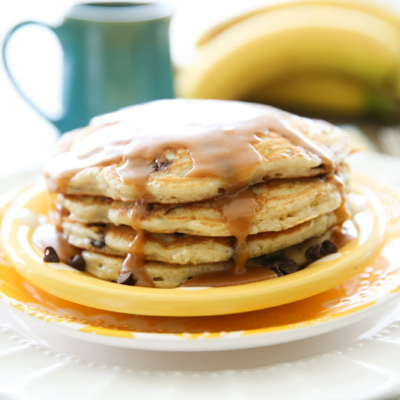
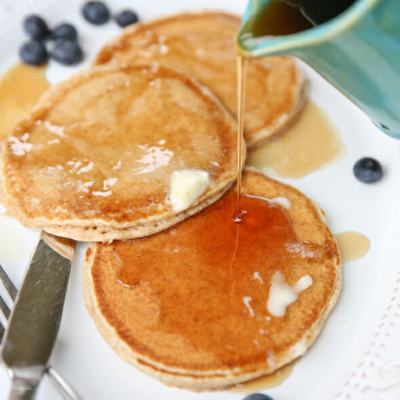
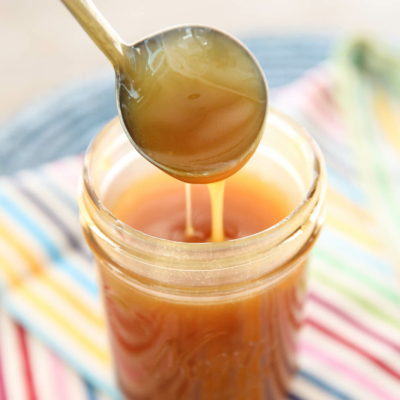
- Toppings as desired – This Buttermilk Syrup is amazing. Traditional maple syrup or berry syrup is delicious. You can’t go wrong with chopped sweetened strawberries and Sweetened Whipped Cream either.
How to Make Buttermilk Pancakes
- You’re going to need three mixing bowls. In the first one you’ll mix up your dry ingredients: flour, sugar, baking powder, baking soda, and salt.
- In the second bowl, whisk together some buttermilk, milk, and just the yolks of the eggs.
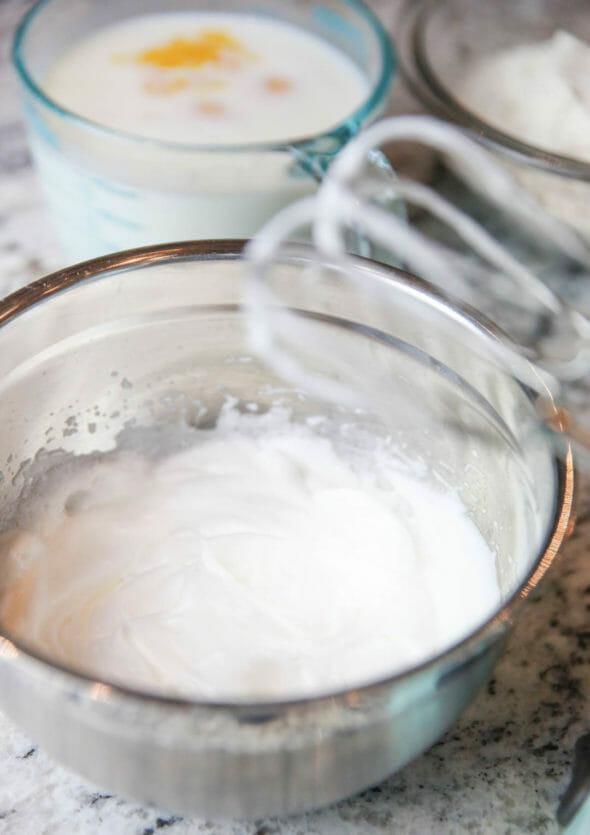
- In the third bowl you’ll whip those egg whites until stiff peaks form.
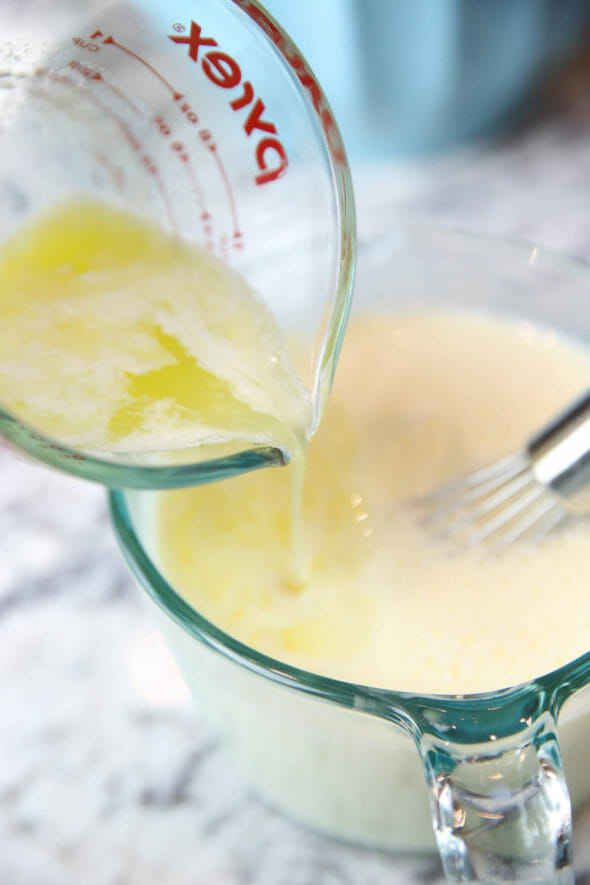
- Next you mix some melted butter into your milk mixture, then pour the liquid ingredients into the bowl with the dry ingredients and mix until just combined (don’t over mix, lumps are ok!).
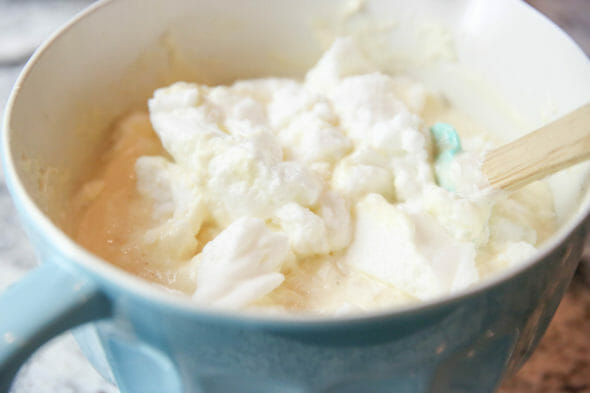
- Start your skillet or griddle heating up. While that’s getting toasty, you’ll gently fold your egg whites into the pancake batter.
- When your pan is hot, rub a stick of butter over it, or spritz with a little non stick cooking spray, then ladle your batter onto the pan. You can also transfer the batter to a pitcher and pour the batter out directly if desired.
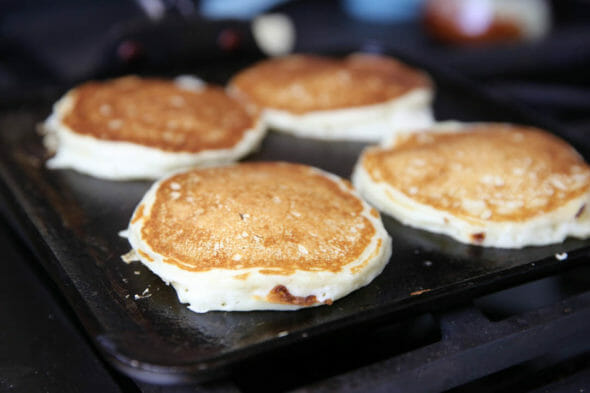
- Let those babies cook until you see little bubbles forming. When they pop, it’s time to flip! The second side won’t take quite as long, so just lift the edge and check on it. When it’s golden brown, they’re done!
- Continue until you’ve used up all of your batter.
Storing and Other Tips
- This is a big batch so it feeds a crowd. If you have a bunch of eaters ready to go, you can just serve them straight from the skillet. But it really irks me to be flipping pancakes and have my family/friends/pets eating while I’m cooking and then by the time I’m done making pancakes, everyone ELSE is done eating and I have to eat MY pancakes in the dirty kitchen all by myself.
So what I usually do is turn my oven as low as it can go, put an oven-safe plate in there, and pop the cooked pancakes onto the plate so they’re still warm when everyone’s ready to eat. - Store leftover cooled pancakes in an airtight container in the fridge and enjoy within a few days for best results.
- You can also freeze these for later! Lay them flat to freeze then, once frozen, transfer to a freezer-safe bag or container and store for up to 2-3 months. These can be reheated quickly in the microwave as needed.
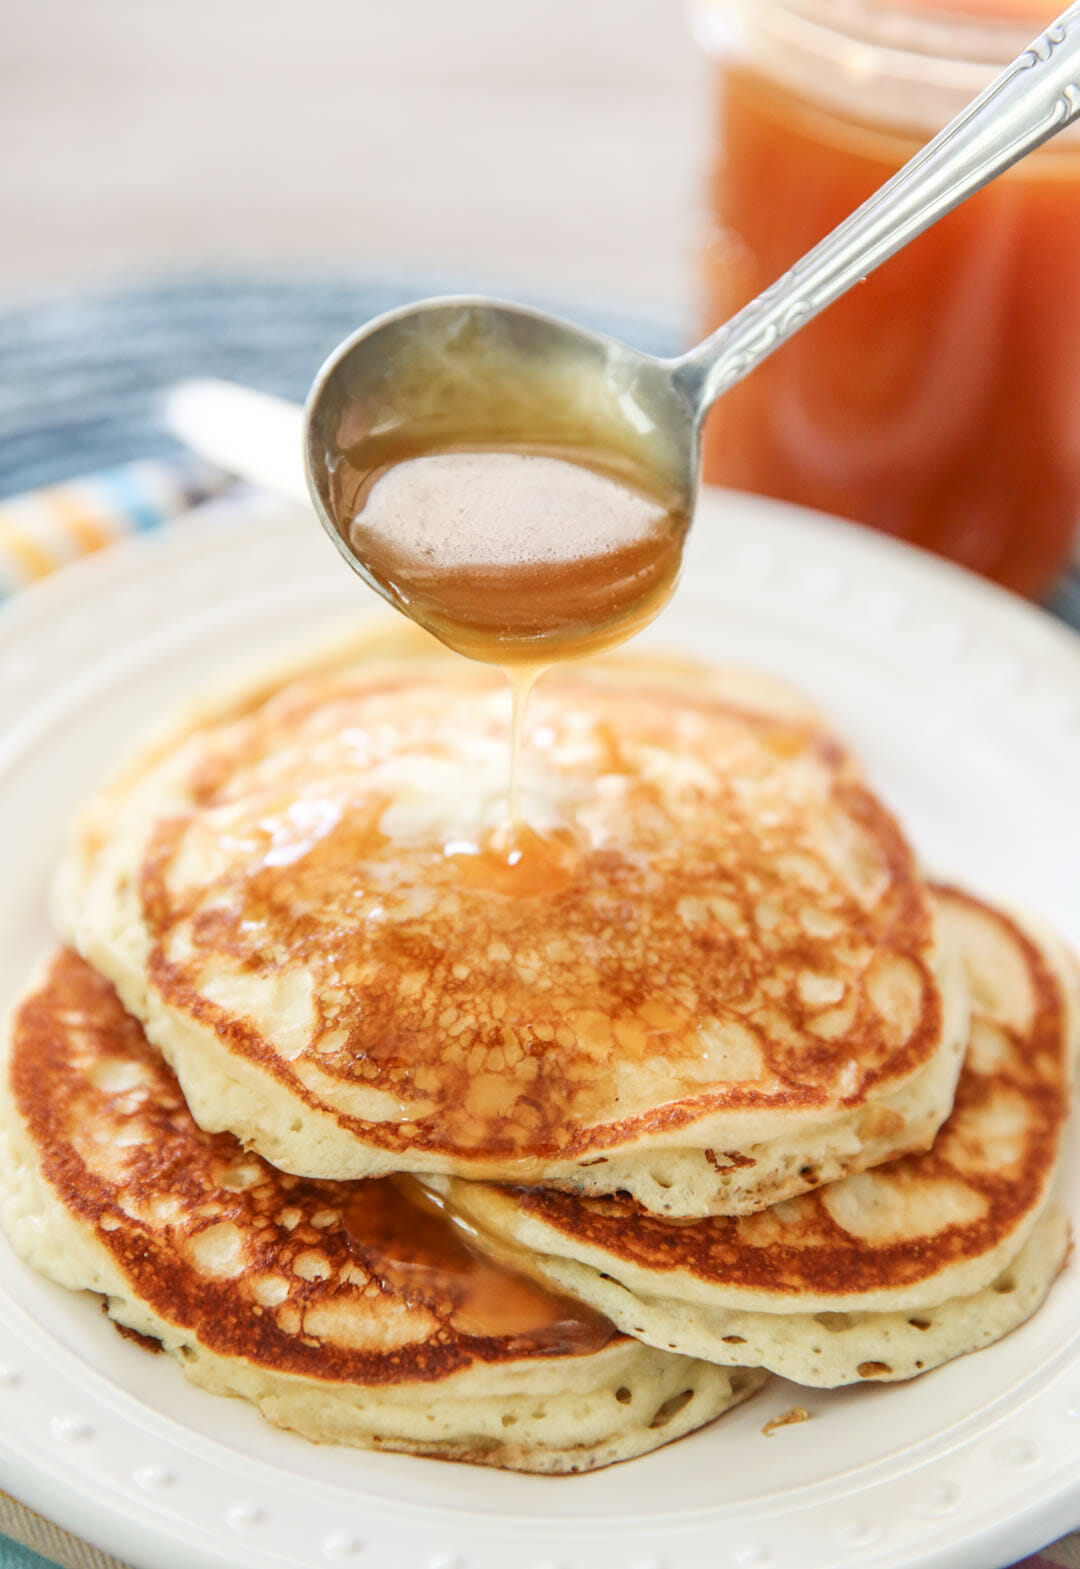
- I highly recommend this Buttermilk Caramel Syrup with these!
Frequently Asked Questions
The acid in the buttermilk is an important part in this recipe! You can read more about that in the ingredient notes above. While you can use all milk, your pancakes will not be as tender and fluffy. I recommend adding some lemon juice or vinegar to the milk if you have to substitute. See the Notes section in the recipe card below for full details.
Absolutely! If you’re feeding a crowd and you can get a head start, I recommend turning your oven to the lowest setting and place an oven safe dish in there to transfer the pancakes to as you make them.
They also reheat well from refrigerated or even frozen!
Yes. Freeze in a single layer on a baking sheet. Once frozen, transfer to a freezer safe bag or container and freeze for up to 2-3 months. Reheat a few pancakes at a time in the microwave or reheat the whole batch in a 350°F oven, in a single layer and covered loosely in foil, for 15-20 minutes.
Nope! Just cover and refrigerate and you can make pancakes for a few days as needed!
Buttermilk Pancakes
Ingredients
- 3 cups all purpose flour
- 3 tablespoons sugar
- 1 tablespoon baking powder
- 1 ½ teaspoons baking soda
- ¾ teaspoon salt
- 3 cups buttermilk
- ½ cup milk
- 3 eggs separated
- ⅓ cup butter (5 ⅓ tablespoons) melted
Instructions
- In a large mixing bowl, combine flour, sugar, baking powder, baking soda, and salt. In another bowl, whisk together buttermilk, milk, and the egg yolks. In yet a separate bowl, using an electric mixer, beat the egg whites until stiff peaks form.
- Whisking constantly, add melted butter to the milk mixture. Pour the liquid ingredients into the bowl with the dry ingredients and whisk until just combined (do not over mix; a few lumps are okay).
- When the flour has been combined but the batter is still a little lumpy, heat a non-stick skillet or griddle to medium-low heat. While the skillet is heating, gently (but completely) fold beaten egg whites into the batter.
- When the skillet is hot, rub a stick of butter over the pan, or spray it with a little non-stick cooking spray and then ladle pancakes onto hot skillet. You can also put your batter in a pitcher to make pouring easier.
- It takes a little adjusting to figure out where the temperature setting should be. When you start seeing bubbles, you're almost there. When the bubbles pop and leave a hole, it's time to flip. Gently slide a spatula under the pancake and quickly flip it to the other side. The other side won't take quite as long as the first side–just check here and there and when the pancakes are golden brown on both sides, you're good to go.
Notes
- Feel free to add in extras before you fold in the egg whites. Blueberries, bananas, and chocolate chips are all popular at our house.
- Freezer instructions: Cook pancakes and allow to cool. Place pancakes in a single layer on a parchment-lined baking sheet and freeze. When frozen, transfer to a gallon-sized Ziploc bag. Pancakes can be reheated in the microwave for about 20-30 seconds each or in a toaster.
- Buttermilk is essential here! If you must replace it, mix 3 cups milk with 3 tablespoons lemon juice or white vinegar and allow the mixture to sit for 5 minutes before mixing up the batter.
- To reheat a whole batch: lay in a single layer on a baking sheet and cover loosely with foil. Heat in a 350℉ oven for 8-12 minutes from refrigerated or 15-20 minutes if frozen.
- To keep warm while cooking, preheat your oven and an oven-safe serving dish on the lowest temperature setting. Transfer pancakes to the dish as you cook them so you can serve them all at once.








Questions & Reviews
Our families go to favorite pancake recipe! Thank you Sara so delish!
The best pancakes ever
I tried these tonight for my 2 year old’s birthday dinner. I’m not sure what I did wrong. They were super flat and didn’t cook all the way through. Any ideas what I did wrong?
I have been looking for a fluffy pancake recipe and was so excited when I found this one. I’ve made this recipe twice and it has not worked out either time. I understand not mixing it too much, but when I don’t, I have enormous lumps of powder in my cooked pancakes. Also, halfway through cooking them, the egg whites separate from the batter and I’m left with runny batter and flat pancakes. Am I doing something wrong? I follow every direction exactly.
Sounds like you might need to mix them a little more thoroughly. You don’t want giant lumps, but you just don’t want it to be completely smooth. Maybe no lumps bigger than a pea? I hope that helps and that we can get these to work for you! 🙂
When you call for butter in recipes, do you use unsalted butter or salted butter?
We pretty much always use salted butter unless we specify unsalted.
Wow. I mean wow. I am typing this with a mouthful of deliciousness made by me using this recipe. I found that 300 degrees on my electric skillet was perfect and made this SO easy…. It did create a lot of mess, but I was able to clean it up while waiting for each pancake to cook. This was so worth it!
I think my husband loves me even more today! Hah!!
Ok I have never left a comment on here but I HAVE to today. Everything I try on your site is magic first of all. But I make pancakes every sunday before church and I’m a total Bisquick mom, sorry to say, however I made these this morning and the praise and thank you’s I got was amazing and quite frankly has never happened before! You made me look so good with my family so I just had to say thank you for your amazing recipe. They were surprisingly easy and the most delicious things I have ever tasted! My new sunday staple for sure!!!