 So a few weeks ago behind the scenes in the food blogging world, I heard about a cookbook swap. Since what I need in life is to swap my cookbooks rather than perform a general downsizing (joking…I have way more cookbooks than I have space. It’s a modern-day tragedy), I joined the fun. So basically, I was assigned a food blogger, Camilla from Culinary Adventures with Camilla. I visited her blog and got a feel for what she might like, and I sent her one of my cookbooks that was collecting dust (Alex Guarnaschelli’s Old School Comfort Food, that, to me at least, was neither old-school nor comfort food and definitely more adventurous than how I usually cook, haha.) and then another blogger did the same for me. I love mail and I love cookbooks, so this was pretty much a recipe for excitement.
I was so excited to get my book from the lovely Lauren at Healthy. Delicious. The book she chose for me was The New Artisan Bread in Five Minutes a Day,
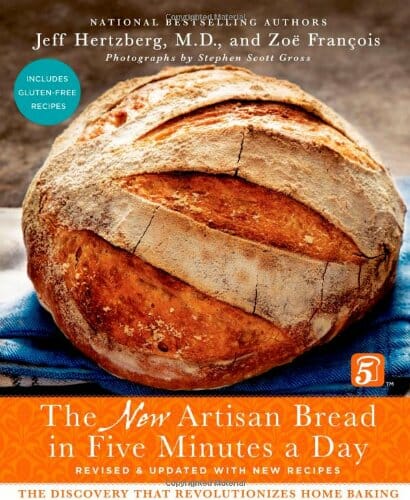
which is the perfect way for me to get my fancy bread fix while maintaining my rock and roll rural Louisiana lifestyle.
This book is amazing–it has all sorts of master recipes that come together in just a few minutes, you store the dough in your fridge, then you cut off what you need to make individual loaves when you’re ready. All those fabulous crusty breads that you get at your favorite bakery? Bam. The dough is in your fridge, ready to go.
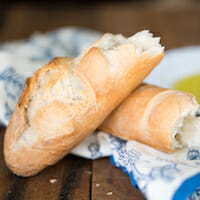
Lauren recommended the baguette, so being strongly prone to suggestion, I took her up on it. It was an excellent choice.
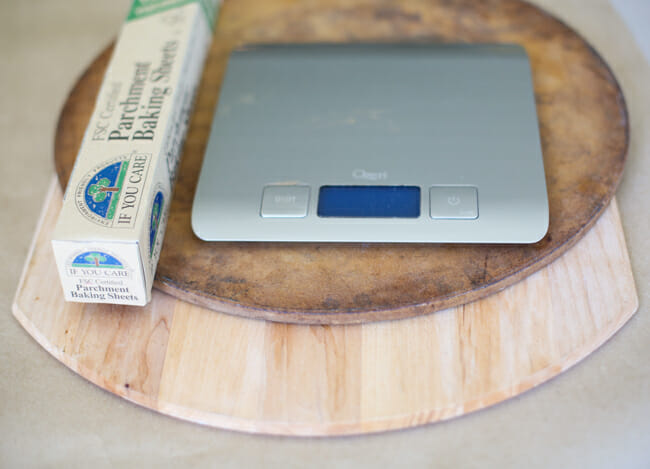
In terms of equipment, you’re going to need a sharp knife, a pizza stone, a pizza paddle, a metal baking pan (I used a 9″ cake pan that I don’t have particularly strong feelings toward), a kitchen scale (not totally necessary, but it will come in handy) and some flour or parchment paper.
To make the dough, you’re going to need 3 cups of warm (about 100-105 degrees F) water, granulated yeast, kosher salt, and all-purpose flour. And if you’re not going to weigh it, you’re going to go against everything I’ve ever told you to do and scoop it out of the container and level it with a knife. That’s right. We’re rebels. It feels good, I’m not gonna lie.
Place the water in a 6-quart lidded bowl or container. Add the yeast and salt and stir to combine. Add the flour all at once and stir
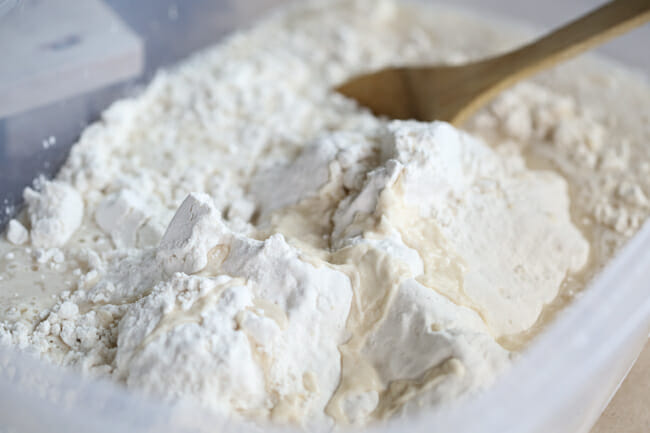
to combine. You’ll probably need to mix it with your hands at some point. Mix until the dough is uniformly moist.
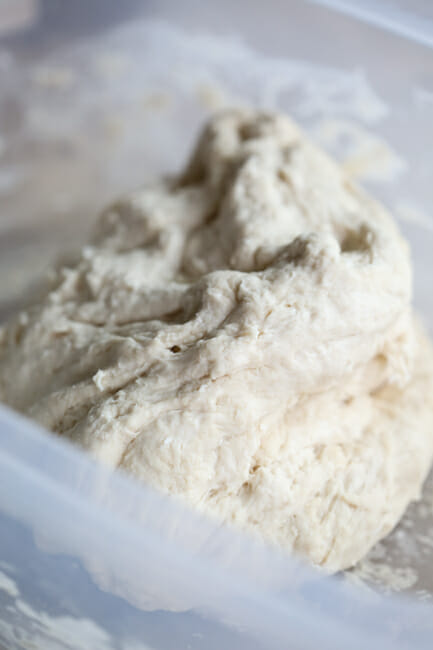
This step should take about 5 minutes from start to finish.
Cover with the lid, but don’t seal it completely, just leave it cracked. Let it rise for about 2 hours at room temperature or until it begins to collapse.
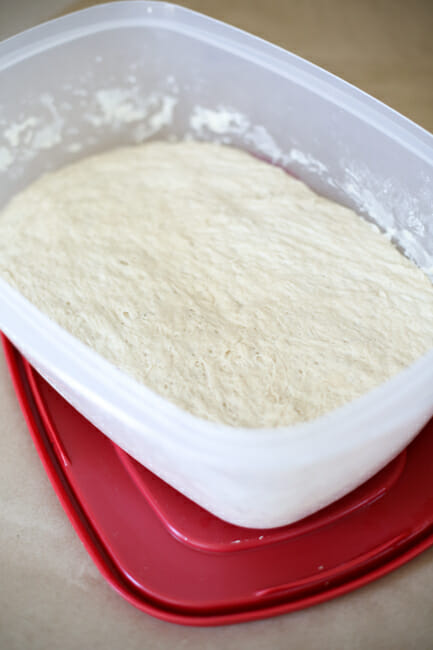
You can either use the dough now or refrigerate it for up to 2 weeks.
When you’re ready to bake your bread, sprinkle a pizza peel lightly with flour
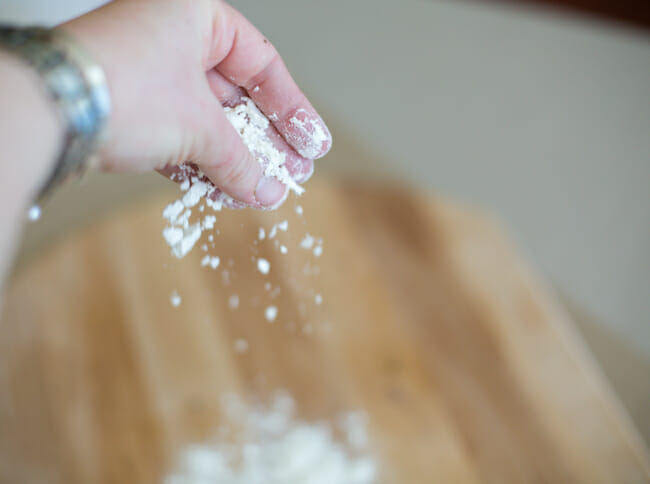
(this will be where the dough rests)
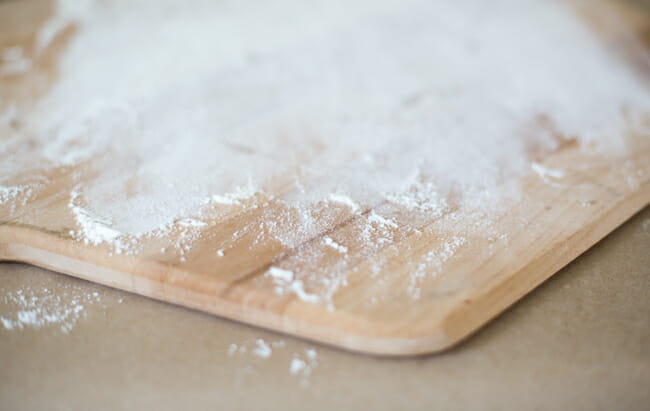
and sprinkle the dough lightly with a little all-purpose flour. You can also line the pizza peel with parchment paper (instead of flouring it) if you prefer.
Gently pull up a large handful of dough (1/2 pound), about the size of a large orange.
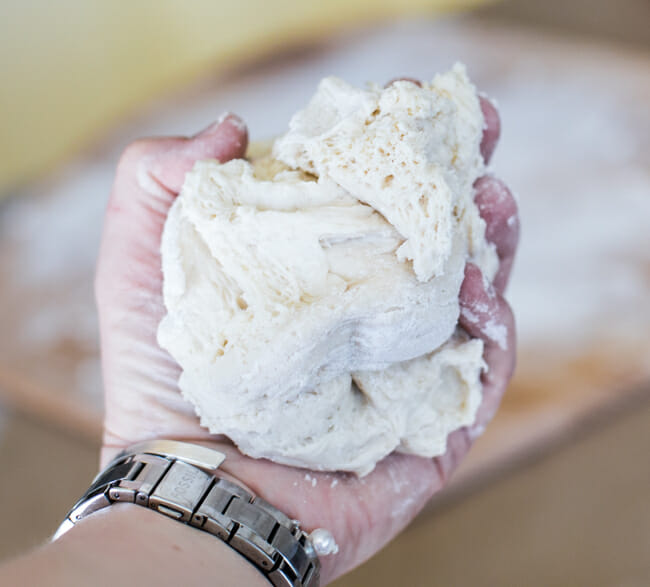
Gently pull it down on the bottom to form a ball, coating the ball with the flour that you sprinkled on top before you cut it. Don’t knead the flour into the dough–most of it will fall away.
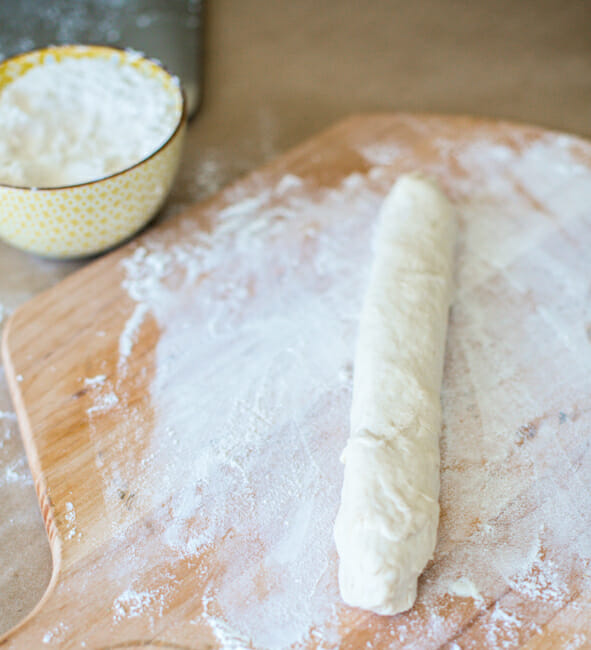
Shape the dough into a cylinder that’s about 1 1/2″ in diameter. You can roll it gently if you want, just be careful not to push so hard that all the bubbles come out of the dough. Work with the dough–if it’s fighting you, let it rest for 5-10 minutes and then try again. Taper the ends so they’re kind of pointy on both sides.
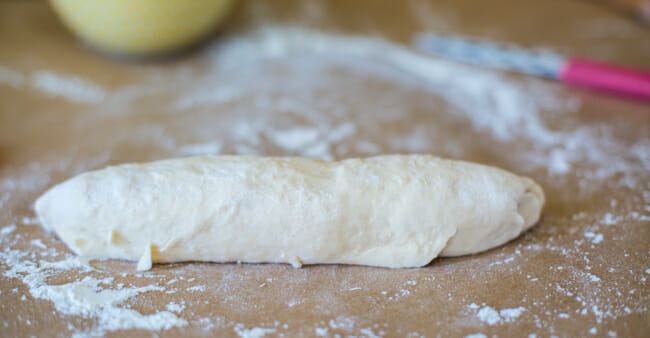
Place it on the floured pizza peel (or the parchment paper) and allow it to rest for 20 minutes.
Place a pizza stone on the center rack of your oven and place a small metal pan next to or under the pizza stone.
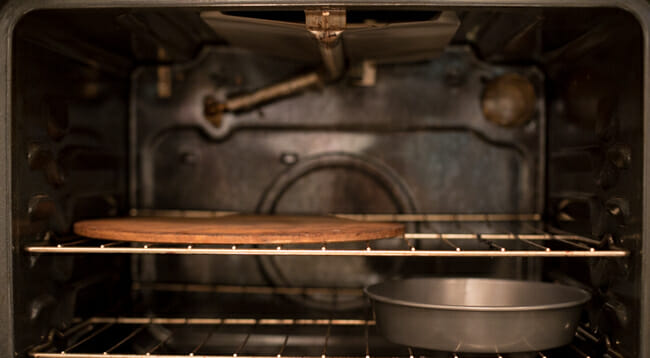
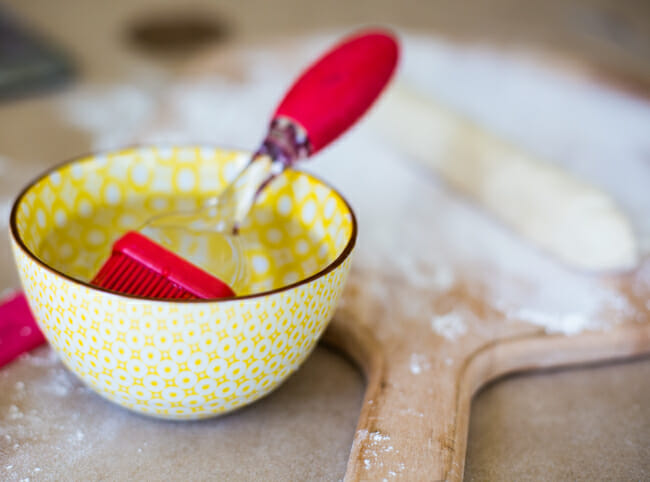
Heat the oven to 450 degrees. When the loaf has rested for 20 minutes, use a pastry brush to brush it with water,
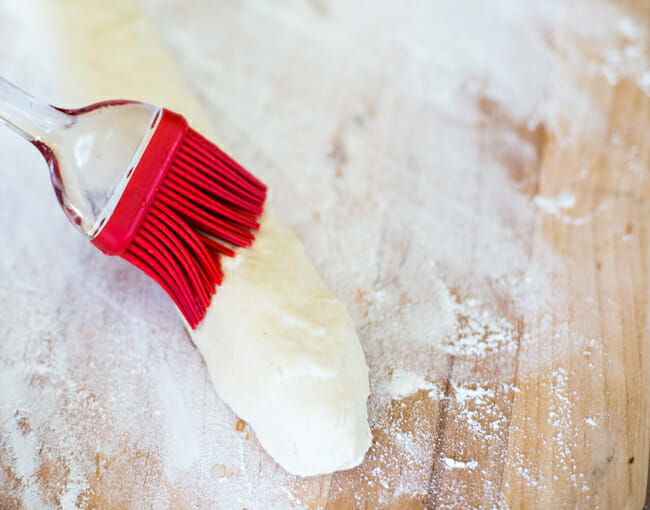
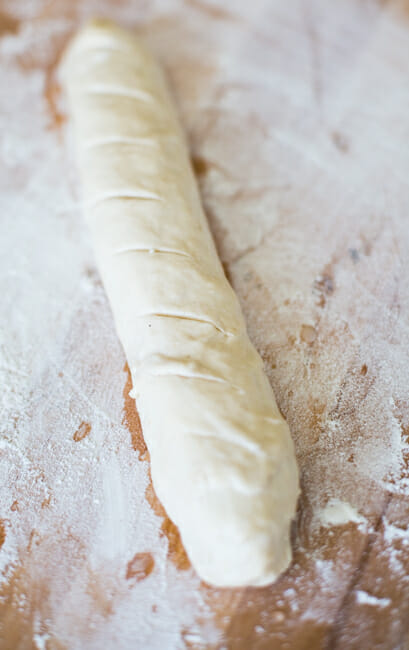
then make a few diagonal slashes across the top of the loaf with a sharp knife.
Use the pizza peel to carry the loaf to the oven, then jiggle the pizza peel to slide the loaf onto the pizza stone. Pour 1 cup of hot water into the empty metal pan and quickly close the door. Bake for 25 minutes or until deeply golden brown. Remove from oven and serve.
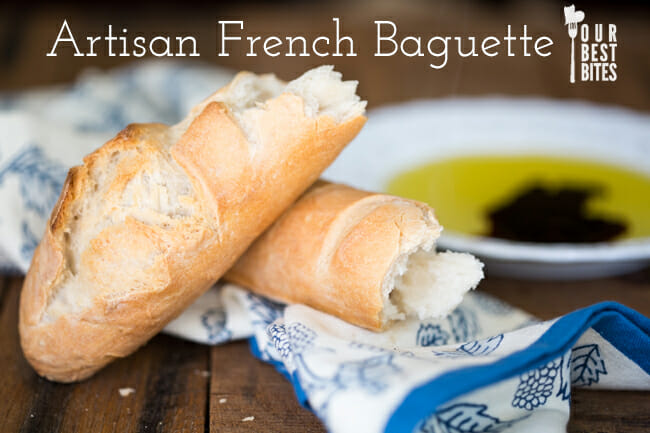
This recipe will make several baguettes (or other free-form loaves–the instructions are available in the book).
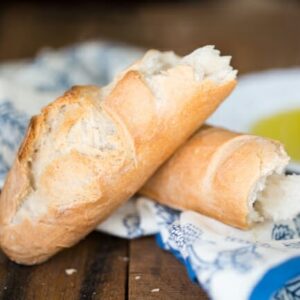
Artisan Baguette
Equipment
- pizza stone
- Pizza Peel
Ingredients
- 3 cups warm about 100-105 degrees F water
- 1 tablespoon granulated yeast
- 1 ½ tablespoons kosher salt
- 6 ½ cups all-purpose flour (2 pounds) spoon into measuring cup and level with a knife
- 1 cup hot water
Instructions
Dough
- Place the water in a 6-quart lidded bowl or container. Add the yeast and salt and stir to combine. Add the flour all at once and stir to combine. You’ll probably need to mix it with your hands at some point. Mix until the dough is uniformly moist. This step should take about 5 minutes from start to finish.
- Cover with the lid, but don’t seal it completely, just leave it cracked. Let it rise for about 2 hours at room temperature or until it begins to collapse. You can either use the dough now or refrigerate it for up to 2 weeks.
Baking the Bread
- When you’re ready to bake your bread, sprinkle a pizza peel lightly with flour (this will be where the dough rests) and sprinkle the dough lightly with a little all-purpose flour. You can also line the pizza peel with parchment paper (instead of flouring it) if you prefer.
- Gently pull up a large handful of dough (½ pound), about the size of a large orange. Gently pull it down to form a ball, coating the ball with the flour that you sprinkled on top before you cut it. Don’t knead the flour into the dough–most of it will fall away.
- Shape the dough into a cylinder that’s about 1 ½″ in diameter. You can roll it gently if you want, just be careful not to push so hard that all the bubbles come out of the dough. Work with the dough–if it’s fighting you, let it rest for 5-10 minutes and then try again. Taper the ends so they’re kind of pointy on both sides. Place it on the floured pizza peel (or the parchment paper) and allow it to rest for 20 minutes.
- Get some water heating on the stove. You'll need one cup of hot water, added to a metal pan in the oven during baking, to create steam.
- Place a pizza stone on the center rack of your oven and place a small metal pan next to the pizza stone for your water, but don't add the water yet. Heat the oven to 450℉.
- When the loaf has rested for 20 minutes, use a pastry brush to brush it with water, then make a few diagonal slashes across the top of the loaf with a sharp knife. Use the pizza peel to carry the loaf to the oven, then jiggle the pizza peel to slide the loaf onto the pizza stone. Pour 1 cup of hot water into the empty metal pan and quickly close the door. Bake for 25 minutes or until deeply golden brown. Remove from oven and serve.
- This recipe will make several baguettes (or other free-form loaves–the instructions are available in the book).
Notes
- Dough can be stored, loosely covered, in the refrigerator for up to 14 days, baking off portions as needed. Simply follow the instructions as listed to shape the dough and allow 20 minutes for it to rest.
- Store completely cooled baked loaves, wrapped in a paper bag, bread bag, or foil, at room temperature and enjoy within 2 days for best results.
- Wrap cooled loaves tightly in plastic, followed by foil, and freeze for up to 3 months. Thaw at room temperature, then warm in a 350°F oven for 5-10 minutes to refresh the crust.








Questions & Reviews
Thank you so much for participating in the swap and helping to make it a success! I love the Artisan Bread books, but I haven’t tried the baguette. Your baguette looks amazing!!
Thank you so much, Faith, for putting it together! It was so much fun!
I have the original book and I love it. I’ve been making bread in the fly for years and never been happier. I tell anyone who will listen about how great this book is!!!
This is one of the many cookbooks that I’ve seen on the swap today that I’d LOVE to have in my kitchen. Your bread turned out so well, hope you enjoy the rest of the recipes in the book.
I LOOOOVE this book. I have never before (or so many times) described a COOKbook as “life changing”. Best ever.
Their brioche recipe makes amazing cinnamon rolls. I almost always have dough in the fridge for making pita–from cold oven to fresh bread in less than 10 minutes–I use the 5 minute sheet pan preheat and non-stick foil, the parchment tends to get brittle at 500 degrees for pita.
The original version of this book is my most loved cookbooks! its pages have chocolate smudges and oil stains, the binding falls open to our favorite recipes, and it just plain smells heavenly! Enjoy! (does the new version carry some of the sweet breads such as chocolate brioche? heavenly!!!)
I love this book, too, and got my sister hooked on all breadmaking through it. Great book for beginners, but the results will still satisfy bread loving connoisseurs. 🙂
I had to chuckle when I saw this today (breads like this are my weakness) right after the post about getting in shape yesterday. Talk about torture! I loved the exercise blog and wish I lived 3 minutes from a gym, let alone one that costs $8 a month. I know….all things in moderation 😉
Thanks for the great blog posts!
I gave this cookbook to my husband a couple years ago for Christmas (the gift that keeps on giving) and lately we use it to make amazing pizza.
What a fun idea for a swap.
I’ve been using this bread book for a while now and I love it! I have some of this dough in my frig right now!